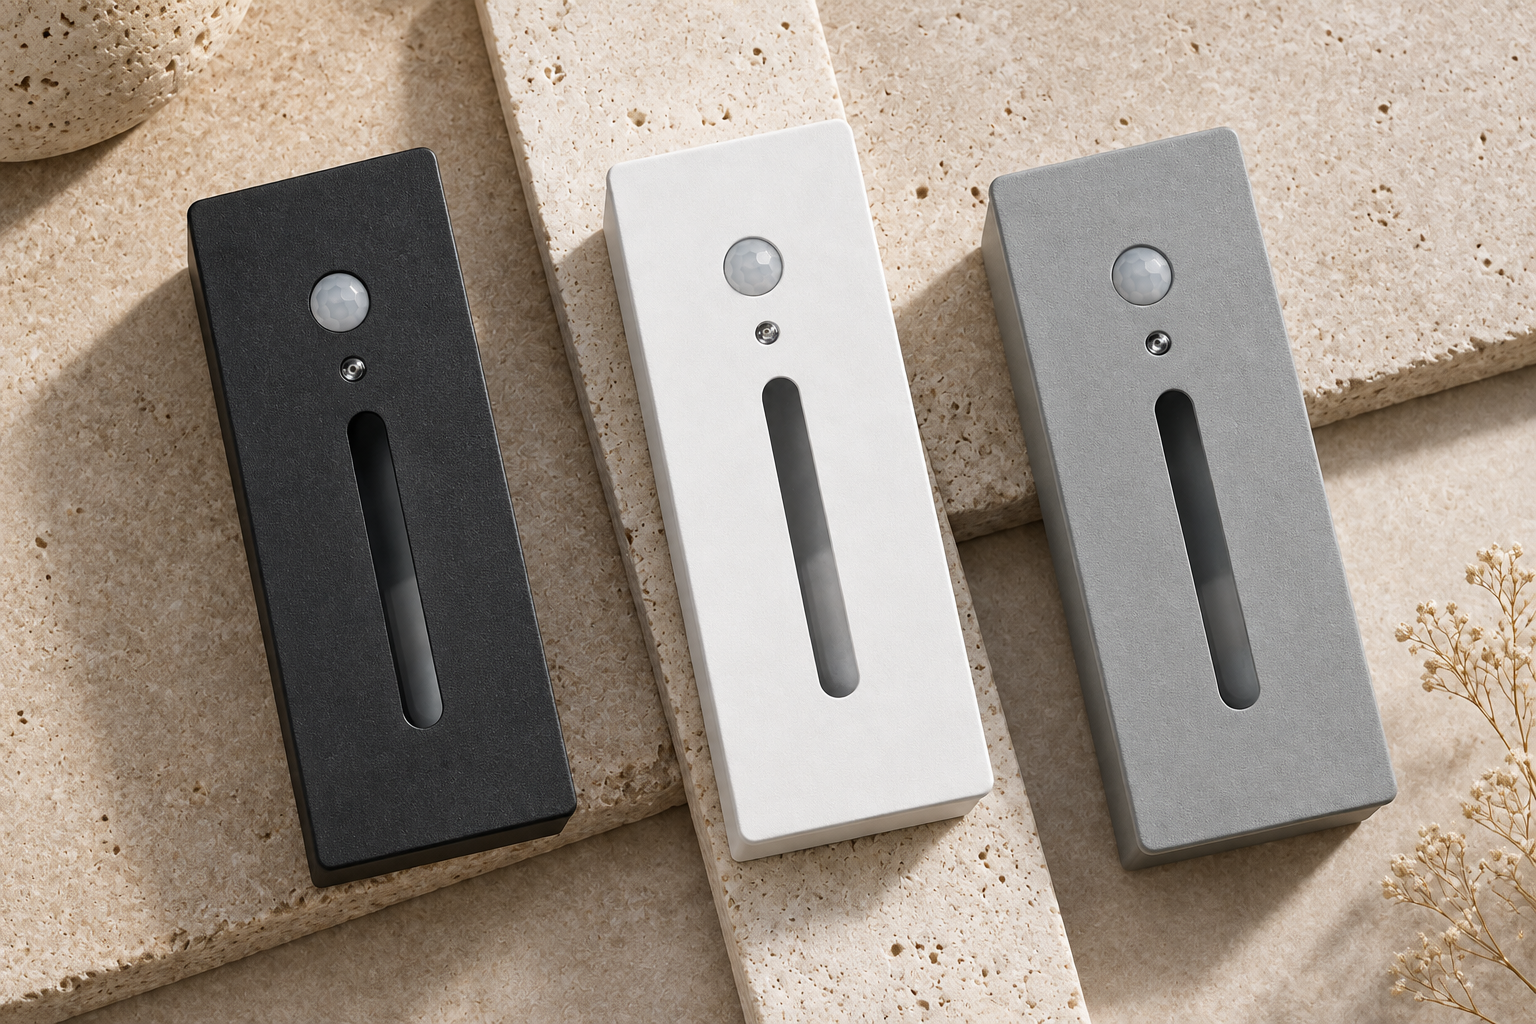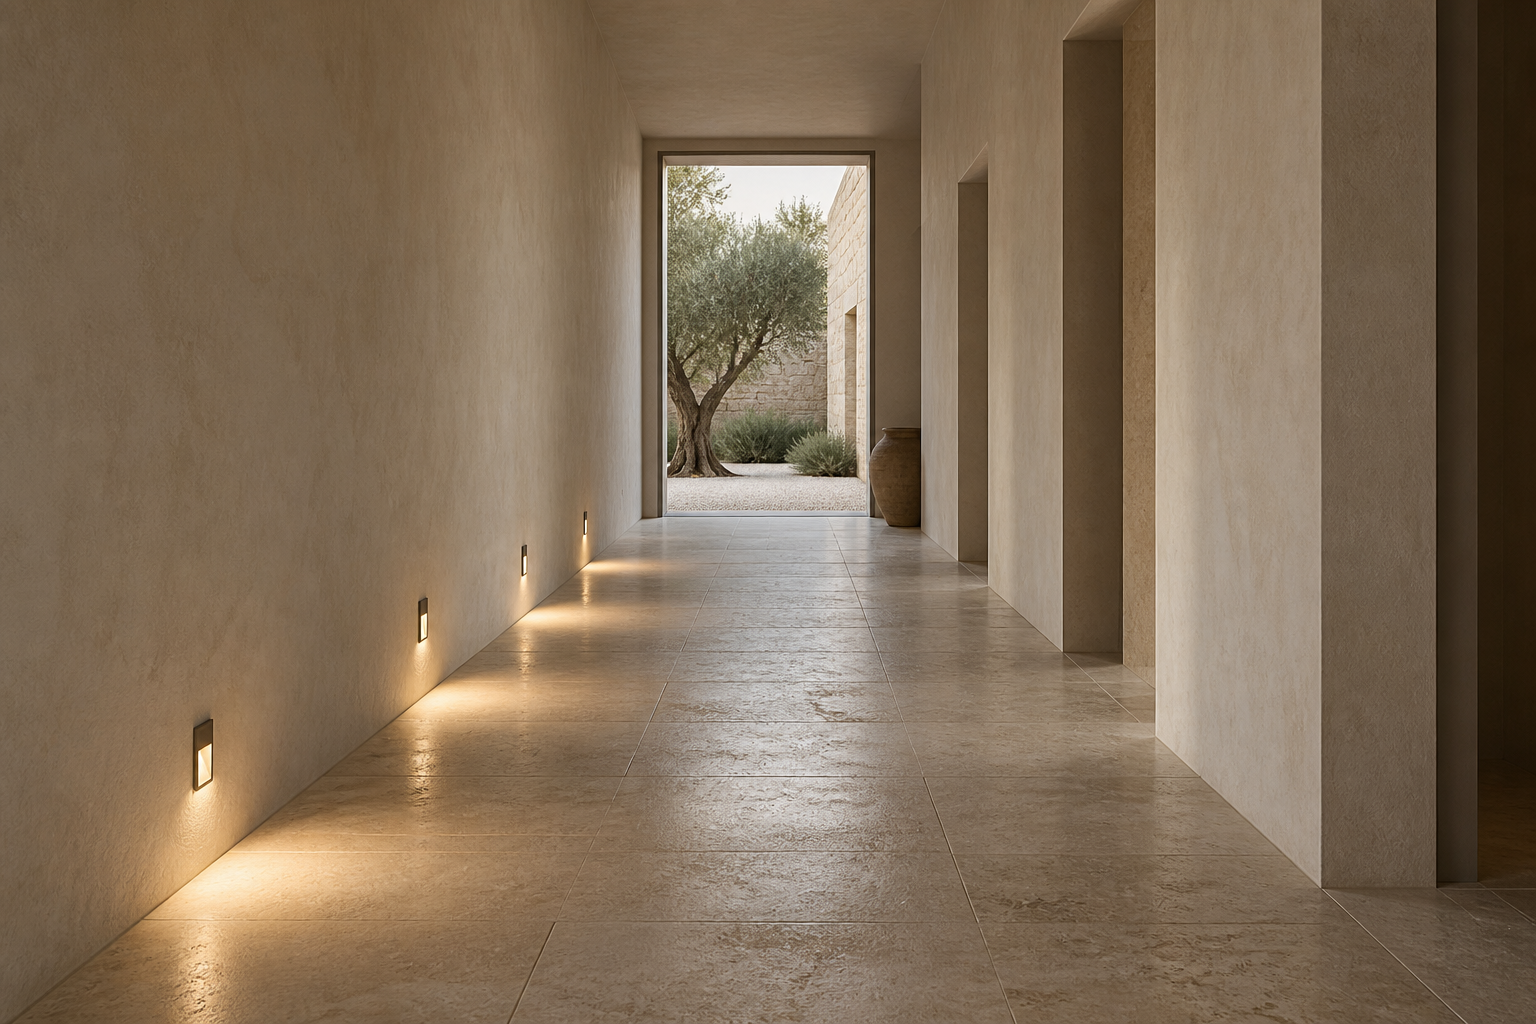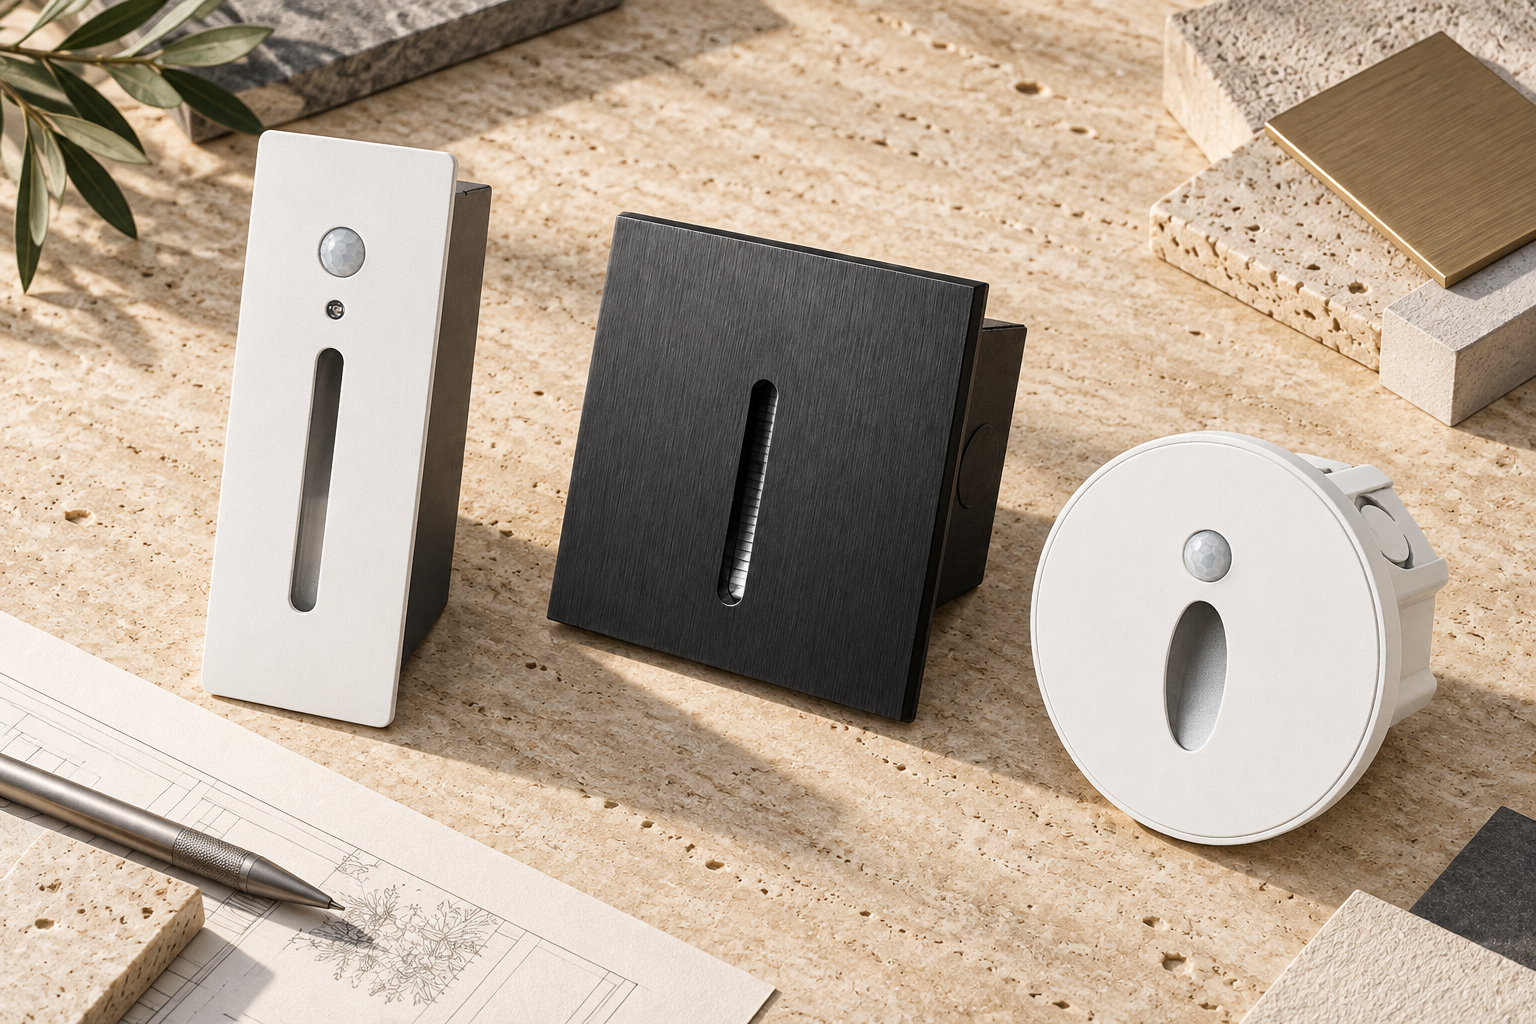
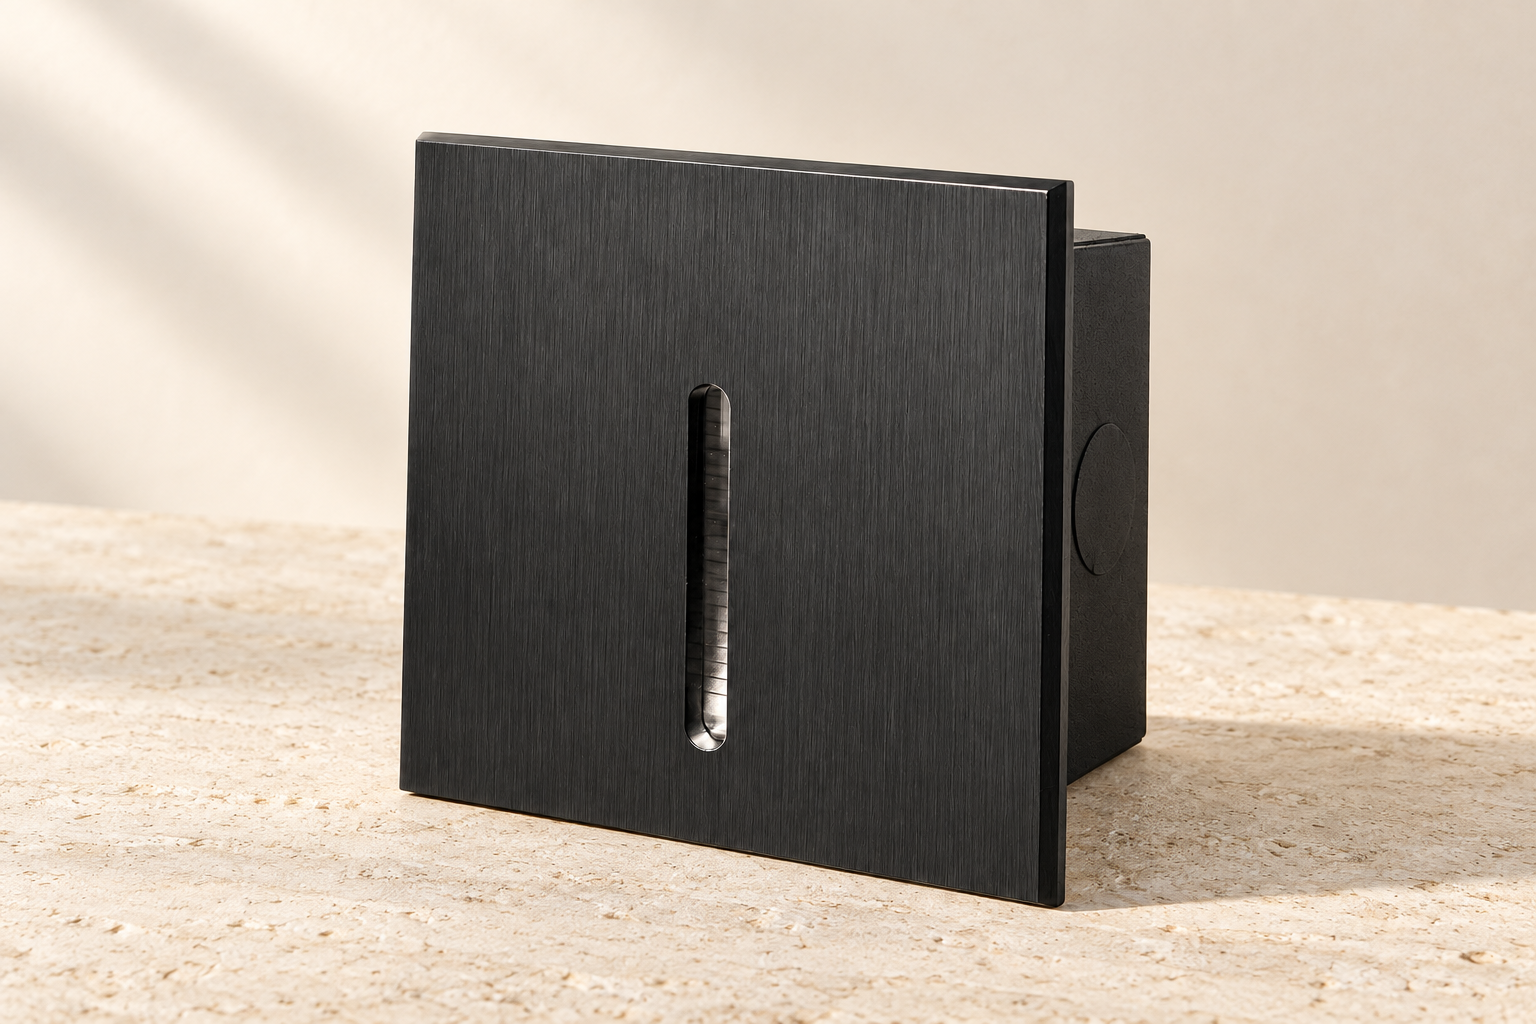
A useful sample photograph answers a specific question. One image can show the finish; another can show the depth. A consistent set of views helps the project team understand what still needs to be checked on the physical product.
Show the useful angles
Begin with a straight-on view to establish the face and aperture. Add a side profile, a rear view and a powered view in a relevant setting. Keep a neutral reference in the frame when proportion or surface colour needs comparison.
- Front: shape, finish and visible fixing details.
- Side: profile, recess depth and trim relationship.
- Rear: mounting arrangement and connection location.
- In context: the light pattern on the intended material.
Use the current dimension drawing alongside these views. A photograph cannot establish the exact opening or replace technical installation information.
Keep conditions consistent
Use the same background, camera position and lighting when comparing finish samples. Automatic white balance and exposure can make similar products look different, so record the settings where practical and avoid filters.
A powered image is useful for discussing distribution and atmosphere. It is not a measured record of illuminance, glare or colour accuracy. Review those questions with the appropriate technical information and a working sample.
Label every view
Include the model, control variant, finish and sample date in the filename or caption. Keep the same sequence for later approvals so changes are easy to identify.
Attach the images to the sample approval record with the relevant drawing revision. This gives the conversation a stable reference even when the physical sample moves between teams.