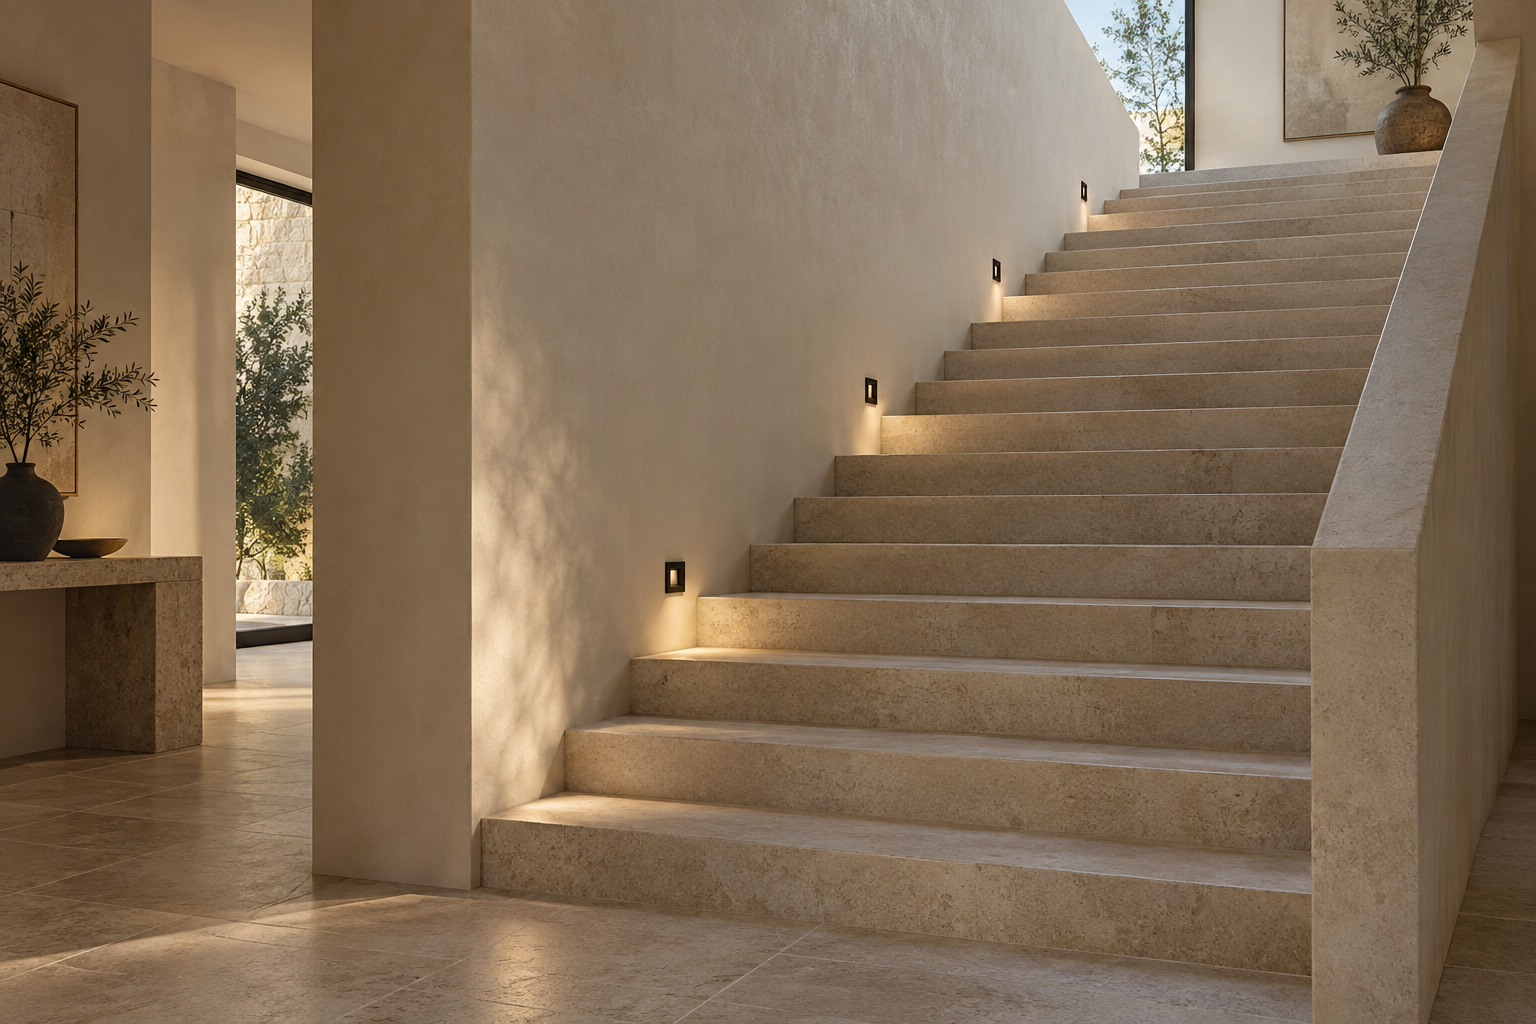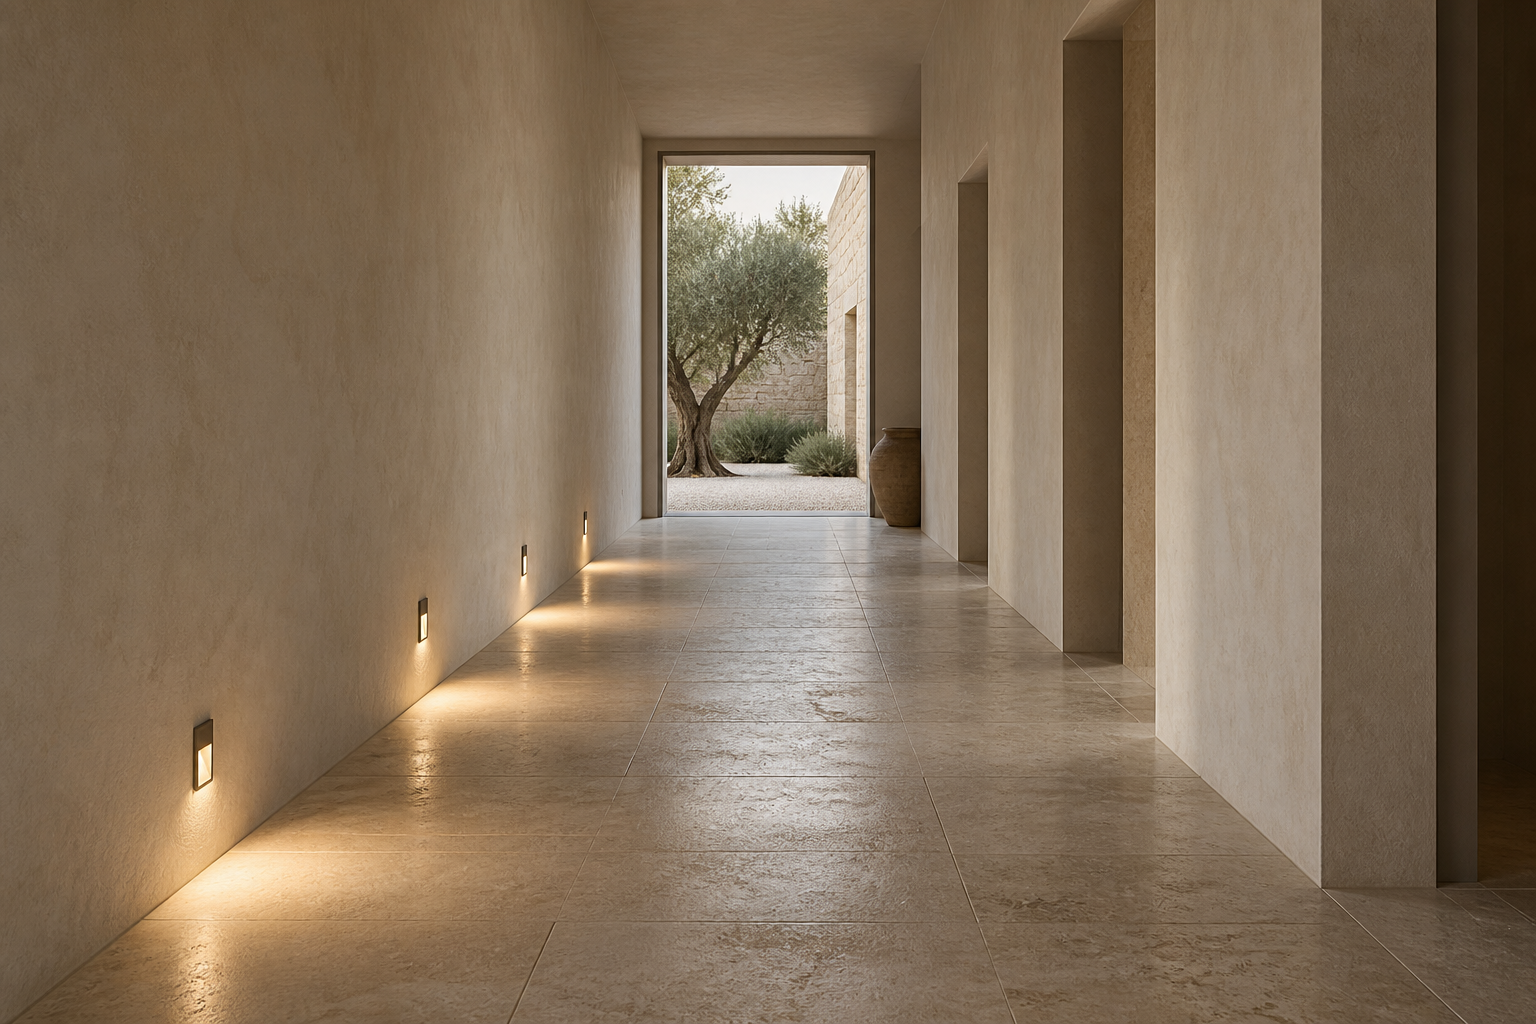
Colour temperature changes the way an interior feels, but a Kelvin number tells only part of the story. The wall, the floor, the surrounding light and the time of day all influence the final impression.
For low-level lighting, the decision is particularly visible on the nearby surface. A warm pool of light may bring out the character of timber; the same source against a cool grey stone can read quite differently. Start with the material palette, then compare available samples in context.
Begin with the surrounding light
Record the colour temperatures of ceiling lights, joinery lighting and decorative fittings that will be visible at the same time. A step light belongs to that wider scene. Where adjacent sources differ, make the transition deliberate and review the combined effect.
Consider how the room is used after dark. A quiet residential landing and an active reception route may need different atmospheres. Neither has a universal Kelvin answer. The best choice is the one that supports the intended use while working with the actual materials and other luminaires.
Use Kelvin as a starting point
The descriptions below are a guide to comparison, not a product availability list. Confirm the options for the exact model before adding a value to the specification.
| Reference CCT | Typical visual character | What to review in the room |
|---|---|---|
| 2700 K | Warm, with a more amber impression | Timber, warm plaster and the relationship with decorative lamps |
| 3000 K | Warm white with a less amber impression | Stone, painted surfaces and adjacent architectural lighting |
| 4000 K | A more neutral white impression | Cool material palettes and transitions from warmer spaces |
Two sources labelled with the same CCT can still look different. Colour rendering, chromaticity variation and the spectrum of the source affect how materials appear. Ask which colour quality information is available for the model, and use the physical sample to resolve the visual decision.
Choose the light against the material you will build with, at the time of day you will use it.
Compare samples under one set of conditions
Place the alternatives at the intended mounting height and aim them at the same finish. Keep the ambient lighting unchanged. Review each source individually before comparing them together, since a side-by-side contrast can exaggerate the apparent difference.
Let your eyes adapt, then look at the wider room as well as the light pool. A phone photograph can help document the arrangement, but automatic white balance and exposure change the colours in the image. Treat photographs as a record of the setup, and make the final colour decision in person where possible.
Carry the decision into the schedule
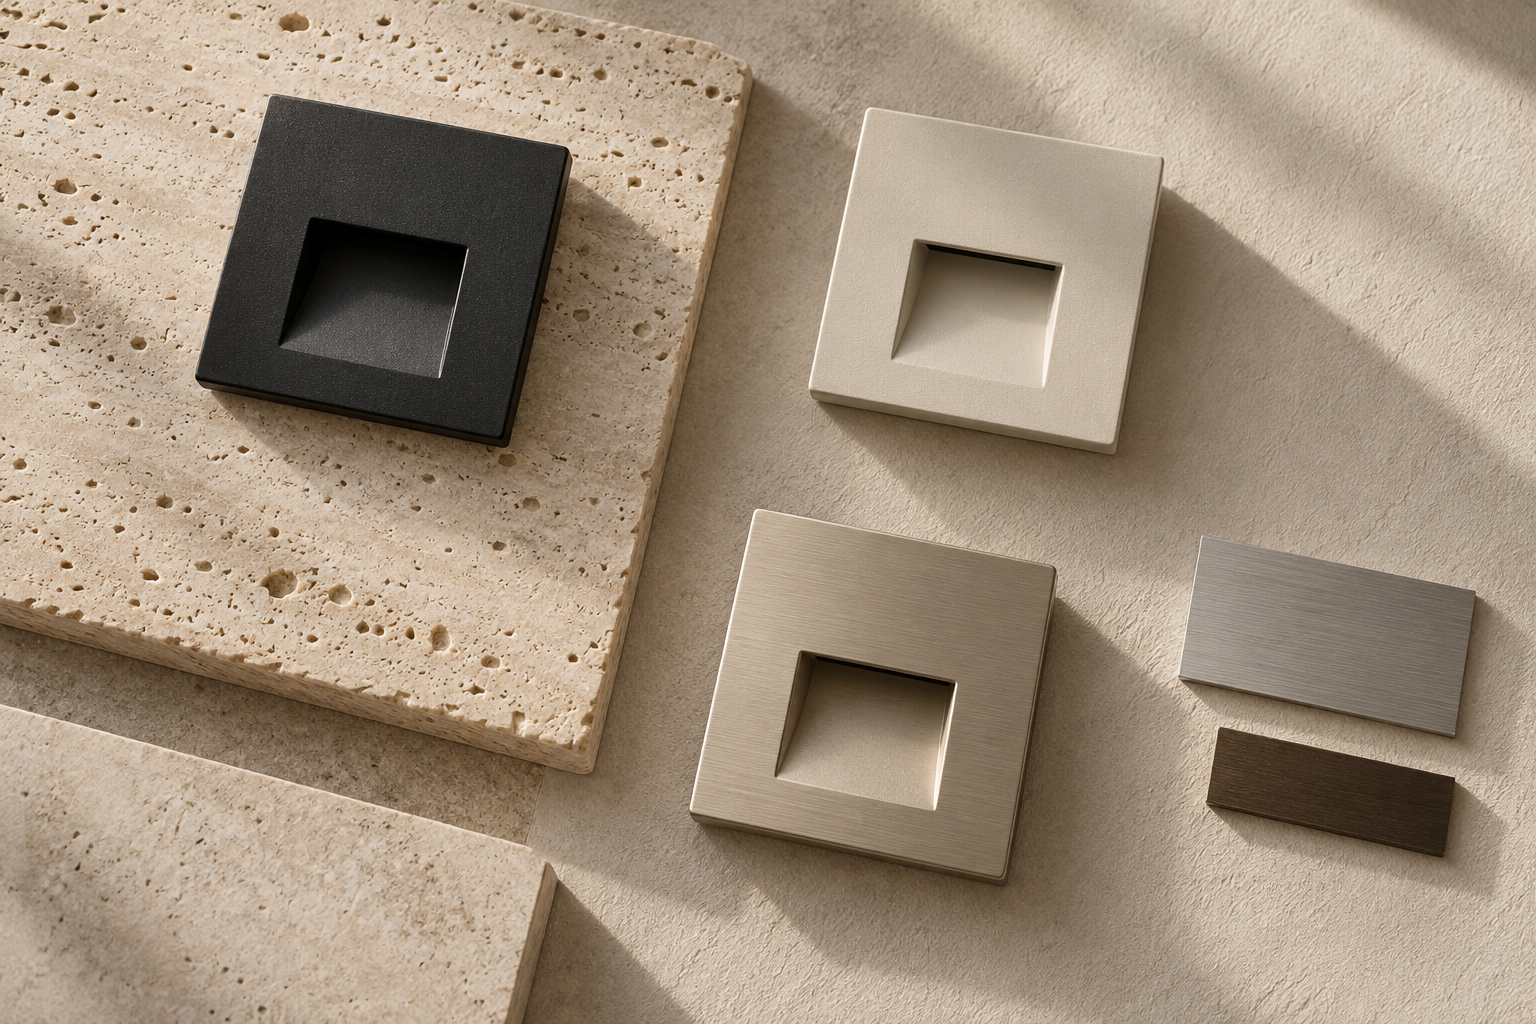
Record the approved CCT alongside the model, finish and control version. Give the sample a reference and date so that later phases can be compared with the same starting point. If dimming is part of the design, review the sample with the proposed control arrangement and confirm compatibility.
For a project with several zones, make a small colour-temperature schedule rather than relying on a general note such as “warm white.” List each zone and the approved source. This makes a deliberate transition clear and helps prevent an accidental substitution. The same record will support a more consistent repeat order.