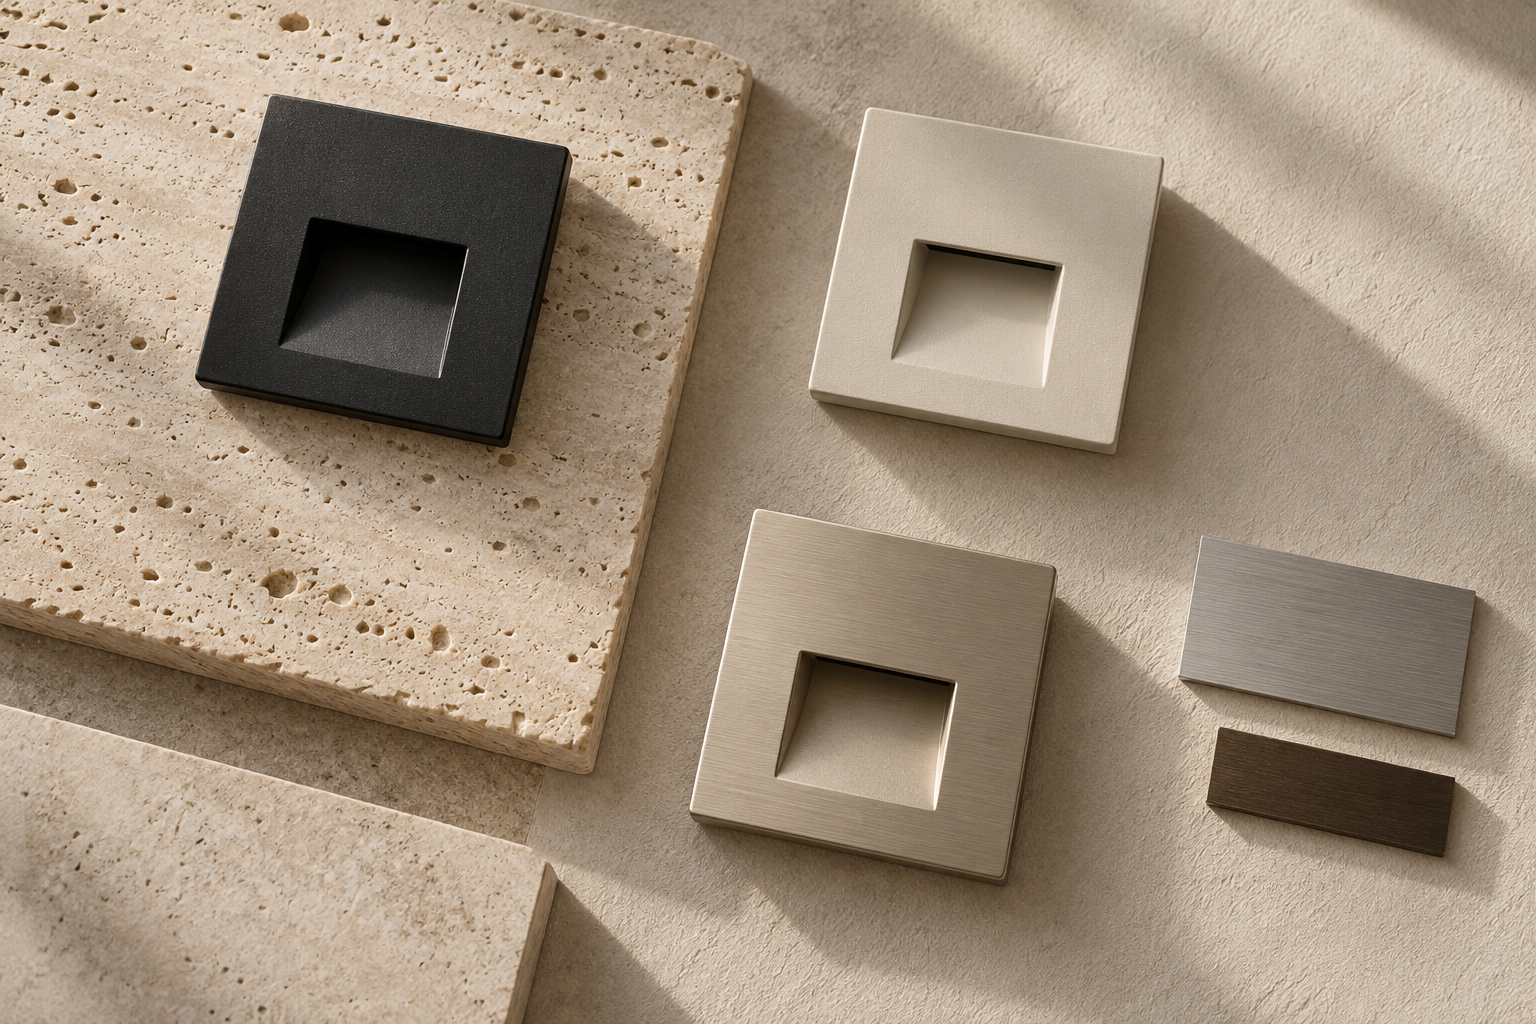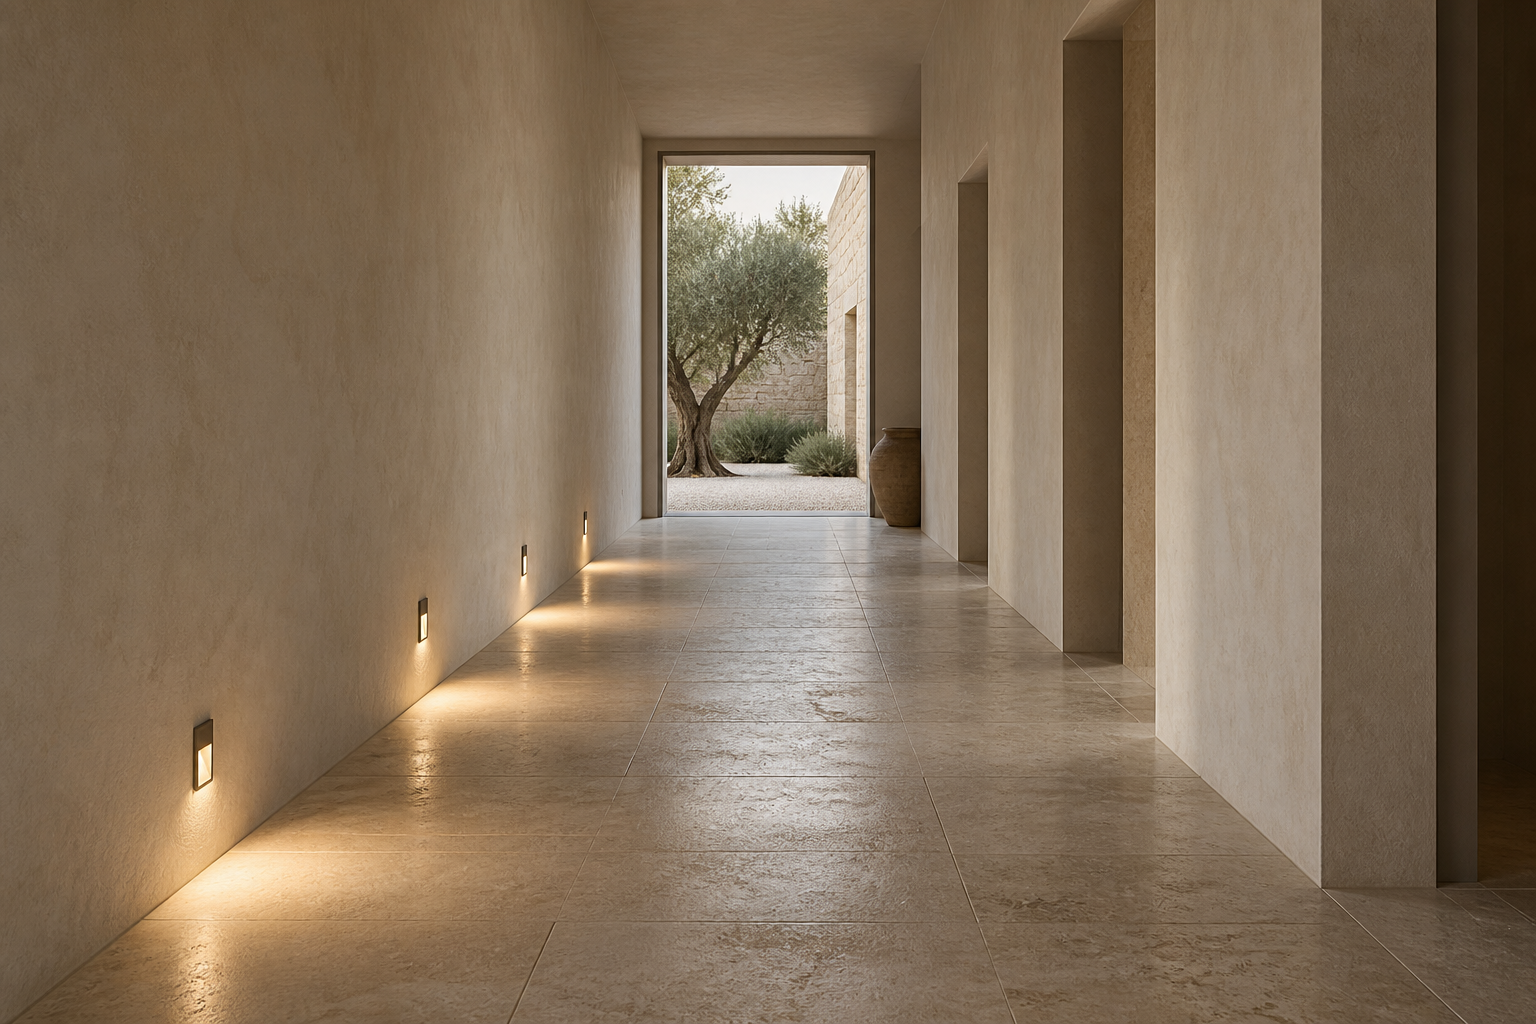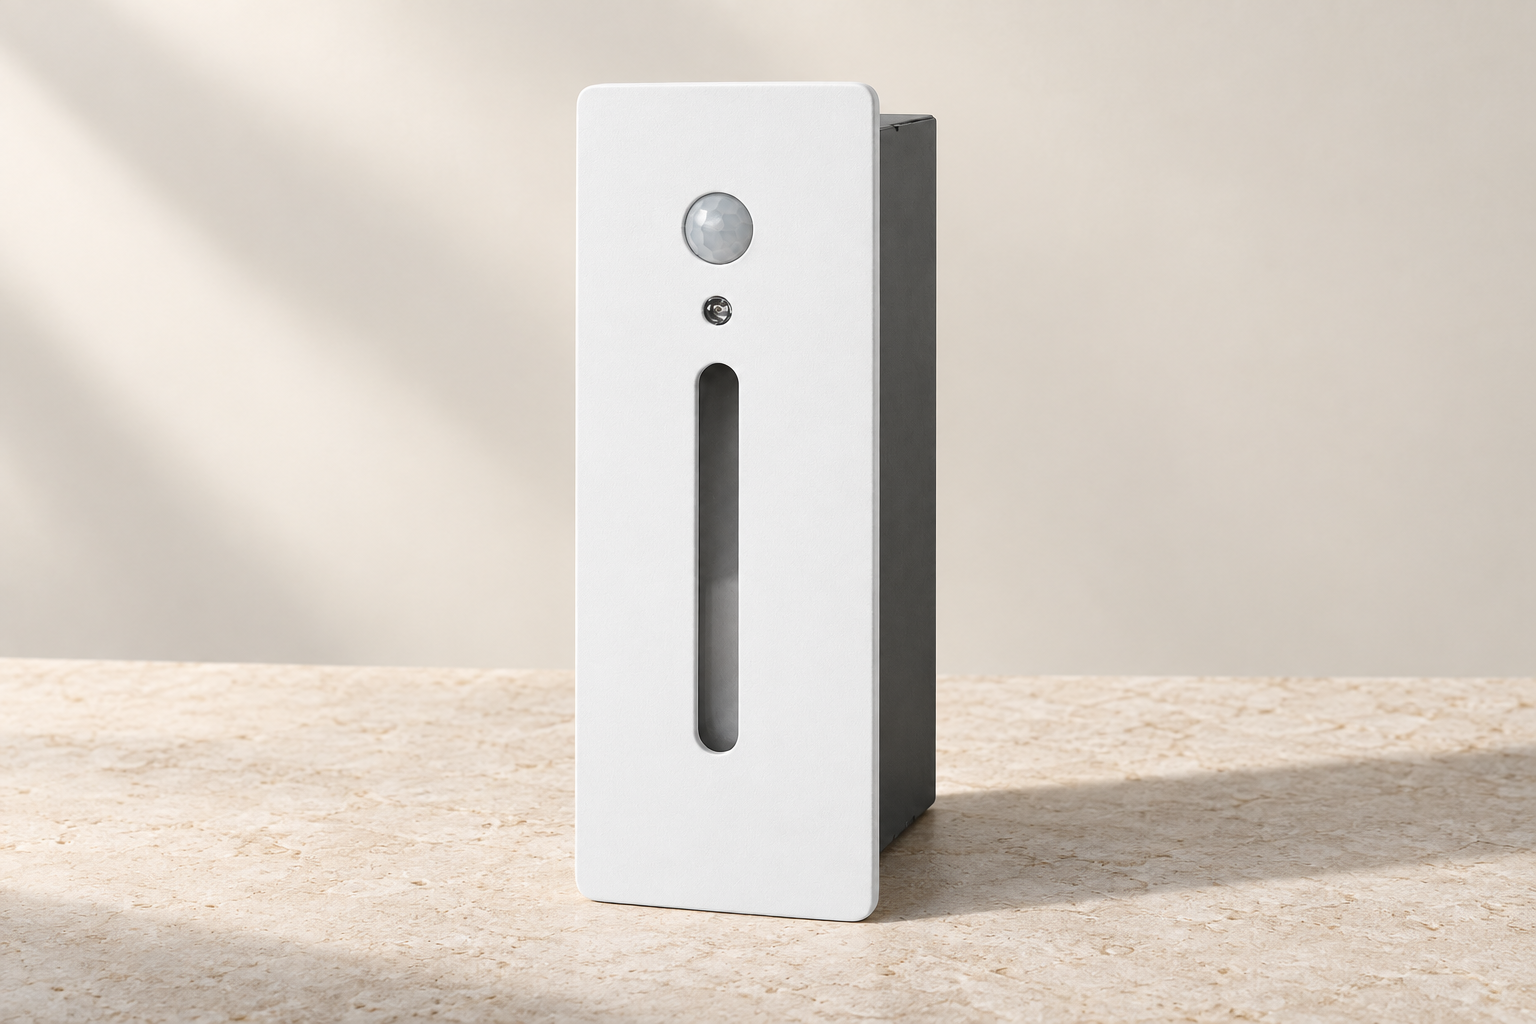
A stairway is experienced in motion. Light has to make sense from the first approach, through the turn and onto the landing. The most considered schemes begin with that sequence, long before a fitting is selected.
Low-level lighting can bring attention to the route while allowing the surrounding architecture to stay quiet. Its contribution depends on the stair geometry, ambient lighting and surface finishes. A beautiful product photograph is a useful reference; a coordinated section is a more useful starting point.
Read the route before the wall
Walk the proposed route in both directions. On the plan, mark the first and last tread, changes of direction, landings and the position of doors. These are the moments where the lighting needs particular attention. A rhythm that looks balanced on a straight elevation may leave an awkward gap around a turn.
Then consider what accompanies the step lights. Daylight, ceiling lights and handrail lighting all change how the stair is perceived. Review the night scene as its own condition, with the actual controls in mind. Low-level accent lighting should form part of the overall lighting design, with required circulation and emergency lighting considered separately.
Begin with the movement through the space. Let the fitting find its place within it.
Keep the source out of the sightline
A fitting can look discreet from across a room and still reveal a bright source when someone descends the stairs. Check the view from above, below and across a landing. Recess depth, aperture shape and beam direction each influence that experience.
Ask for the model’s light distribution information, then review a working sample at the proposed height. The objective is a readable tread and a comfortable view. Avoid choosing spacing from wattage alone: the same power can produce very different patterns through different optics.
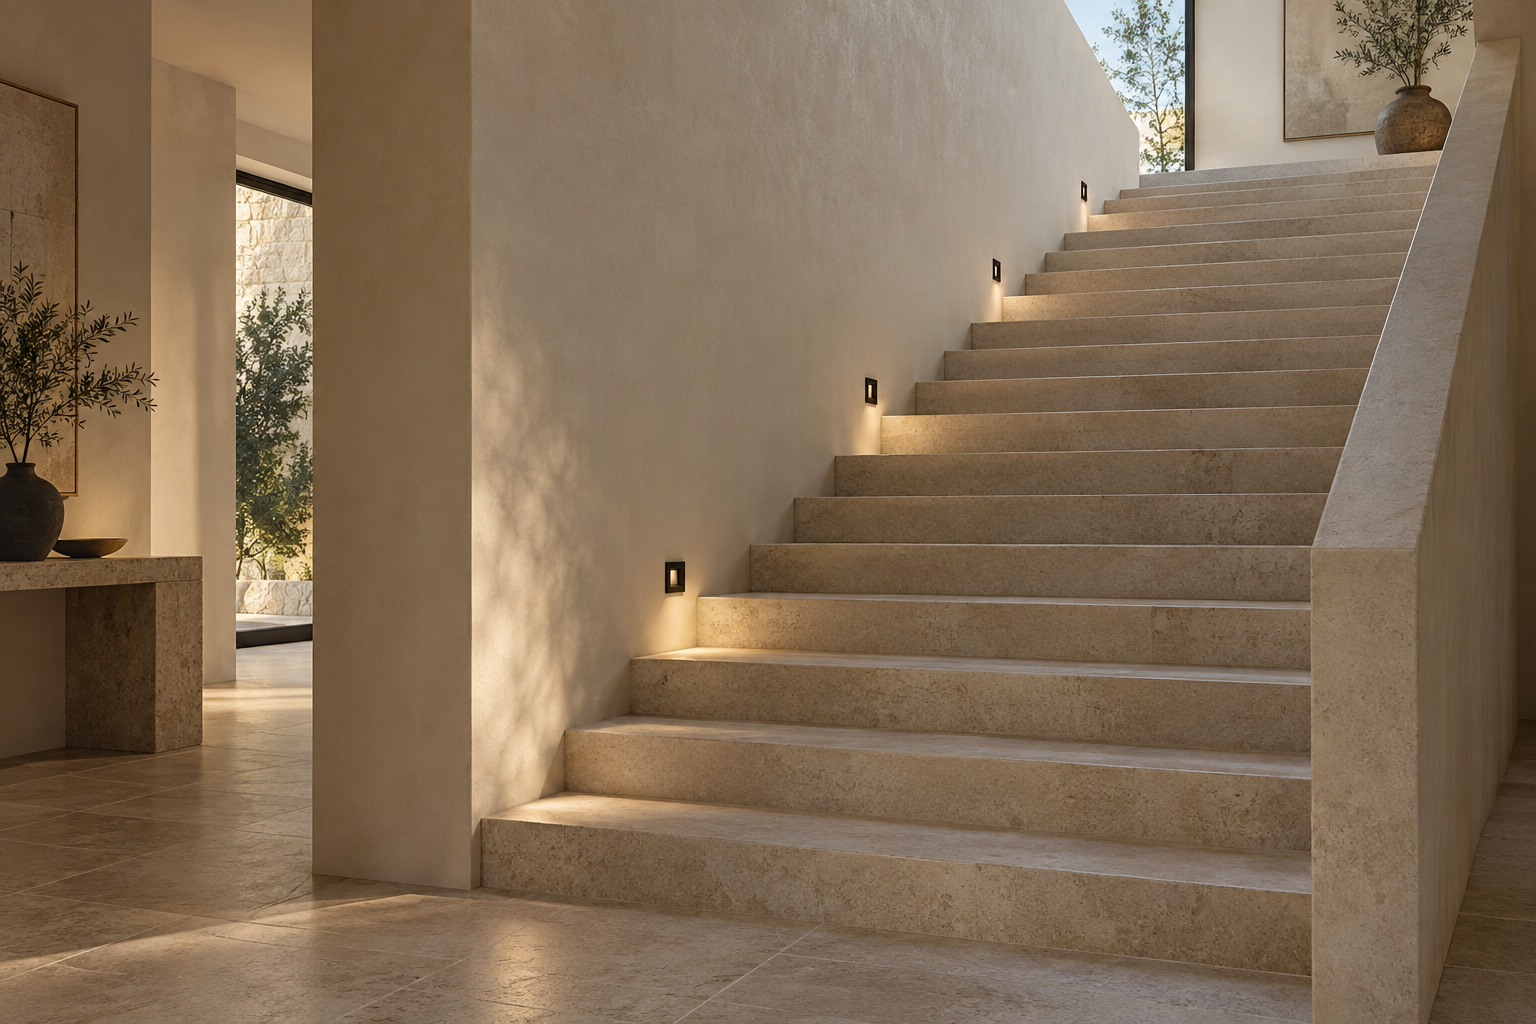
Coordinate the detail in section
The finished wall surface is the reference plane. Note the plaster or cladding thickness, available cavity depth, fixing method and cable route. Align the light with the completed stair rather than an unfinished slab or a temporary site mark.
Keep access in the drawing too. A clean front face should still allow the connection or driver to be reached according to the manufacturer’s installation instructions. Where the stair meets a joinery panel or stone wall, agree which trade owns the opening before the material is fabricated.
Review one complete assembly
A useful mock-up brings together a tread, a wall finish and a powered fitting. Review it under the intended ambient lighting and from the viewpoints that matter. Use this short sequence to keep the approval practical:
- Confirm the geometry. Mark the finished tread, mounting height, opening and cavity depth.
- Observe the beam. Look for continuity along the route and unwanted reflections on the wall.
- Check the controls. Walk the approach and turn; observe timing and adjacent fittings if sensors are involved.
- Record the decision. Save the model, finish, colour temperature, control version and approved drawing revision together.
Treat spacing and mounting height as project decisions to verify, rather than dimensions to copy from an illustration. Once the assembly is agreed, the installation sequence becomes easier to coordinate with the wider build.