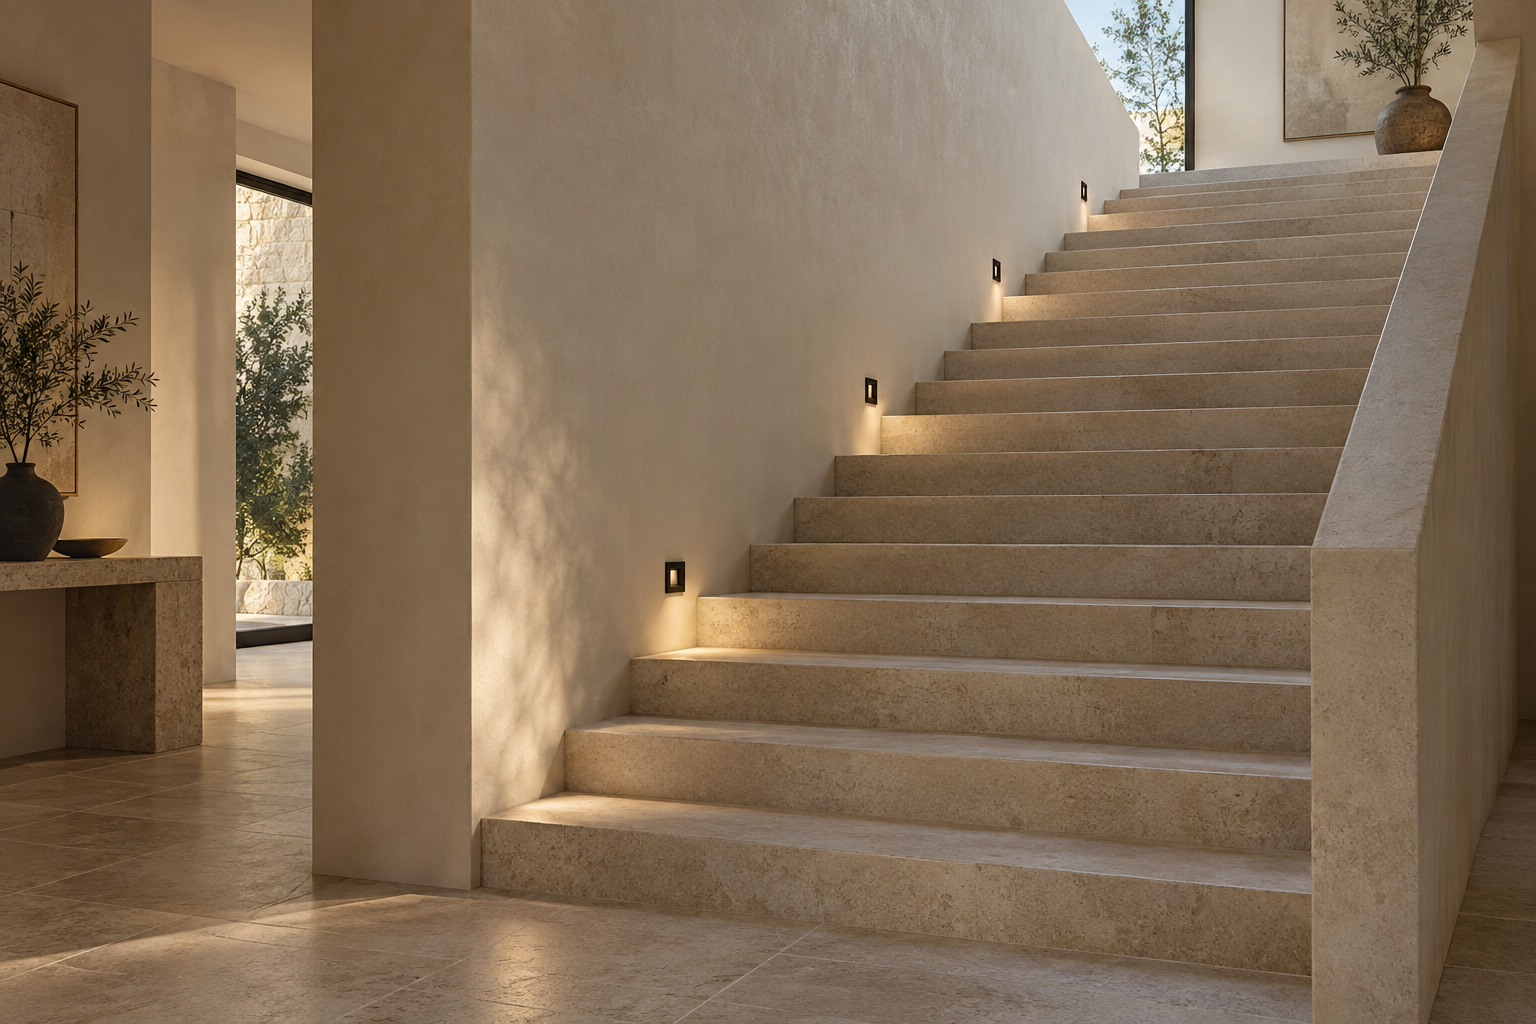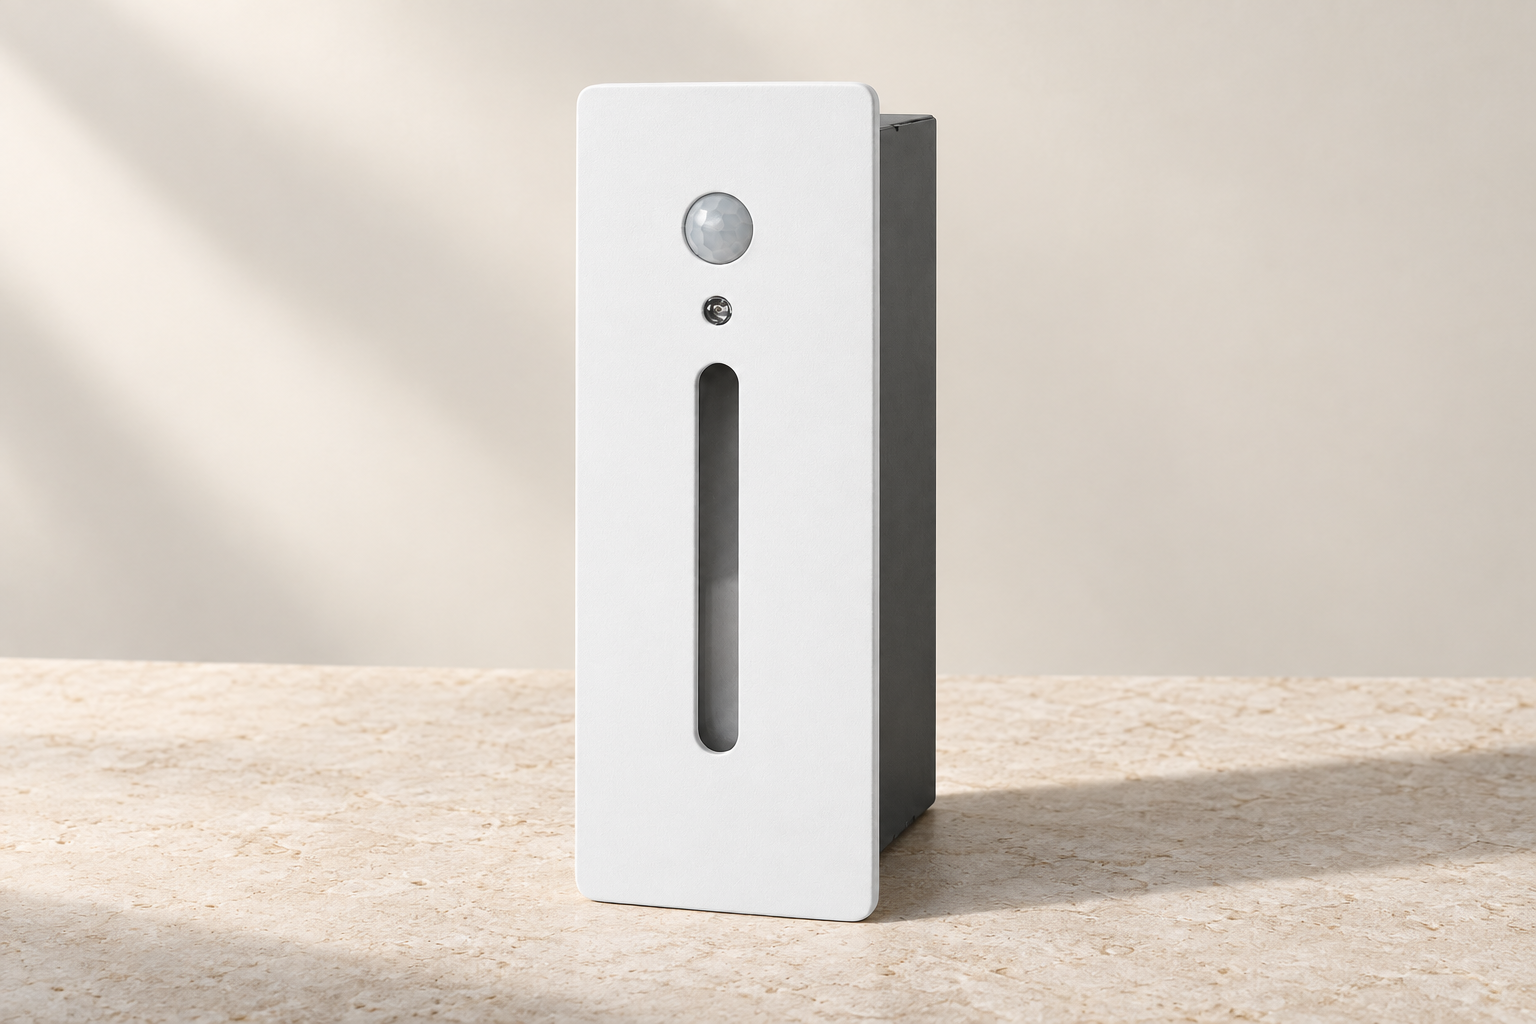
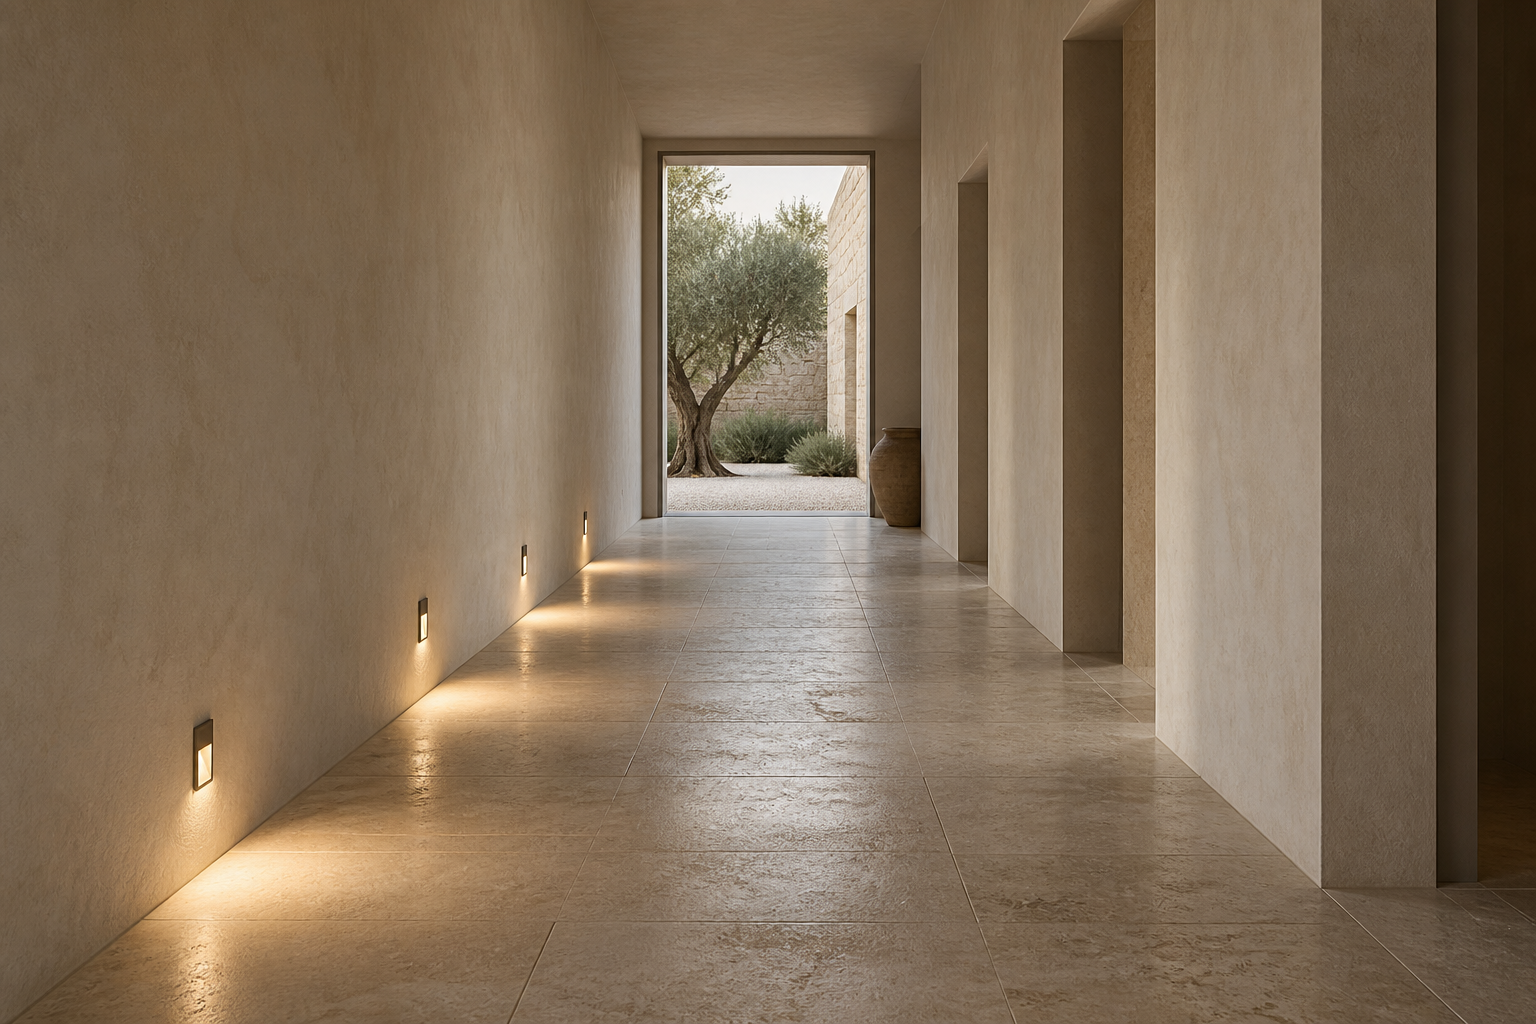
The shape of the light often matters more than the shape of the fitting. A corridor can feel continuous or deliberately punctuated depending on how each pool meets the next. Beam angle is one part of that picture.
Read the surface first
Consider where the light should land: a tread, the floor or a nearby wall. A narrow distribution can create a defined pool, while a broader distribution can spread the light over more of the route. The result also depends on mounting height, aperture geometry and the reflectance of the material.
A textured wall will reveal grazing light differently from a smooth painted panel. Review the actual finish before using a product image as a guide to the effect.
Map the rhythm
Draw fitting positions on both plan and elevation. Include corners, landings, doors and material joints. Check the space between pools rather than counting fittings alone.
The spacing belongs to the route. The beam belongs to the surface. Review them together.
A stated beam angle does not establish the illuminance on the floor or prove that a circulation requirement has been met. Request the available photometric information and have the complete lighting arrangement reviewed for the project.
Request a useful sample
Send the proposed mounting height, spacing and finish with the sample inquiry. Observe the sample from the approach and from both directions along the corridor. Record glare, reflected highlights and transitions around corners.
Once the distribution is understood, coordinate the fitting with the installation detail so the approved effect can be reproduced on site.