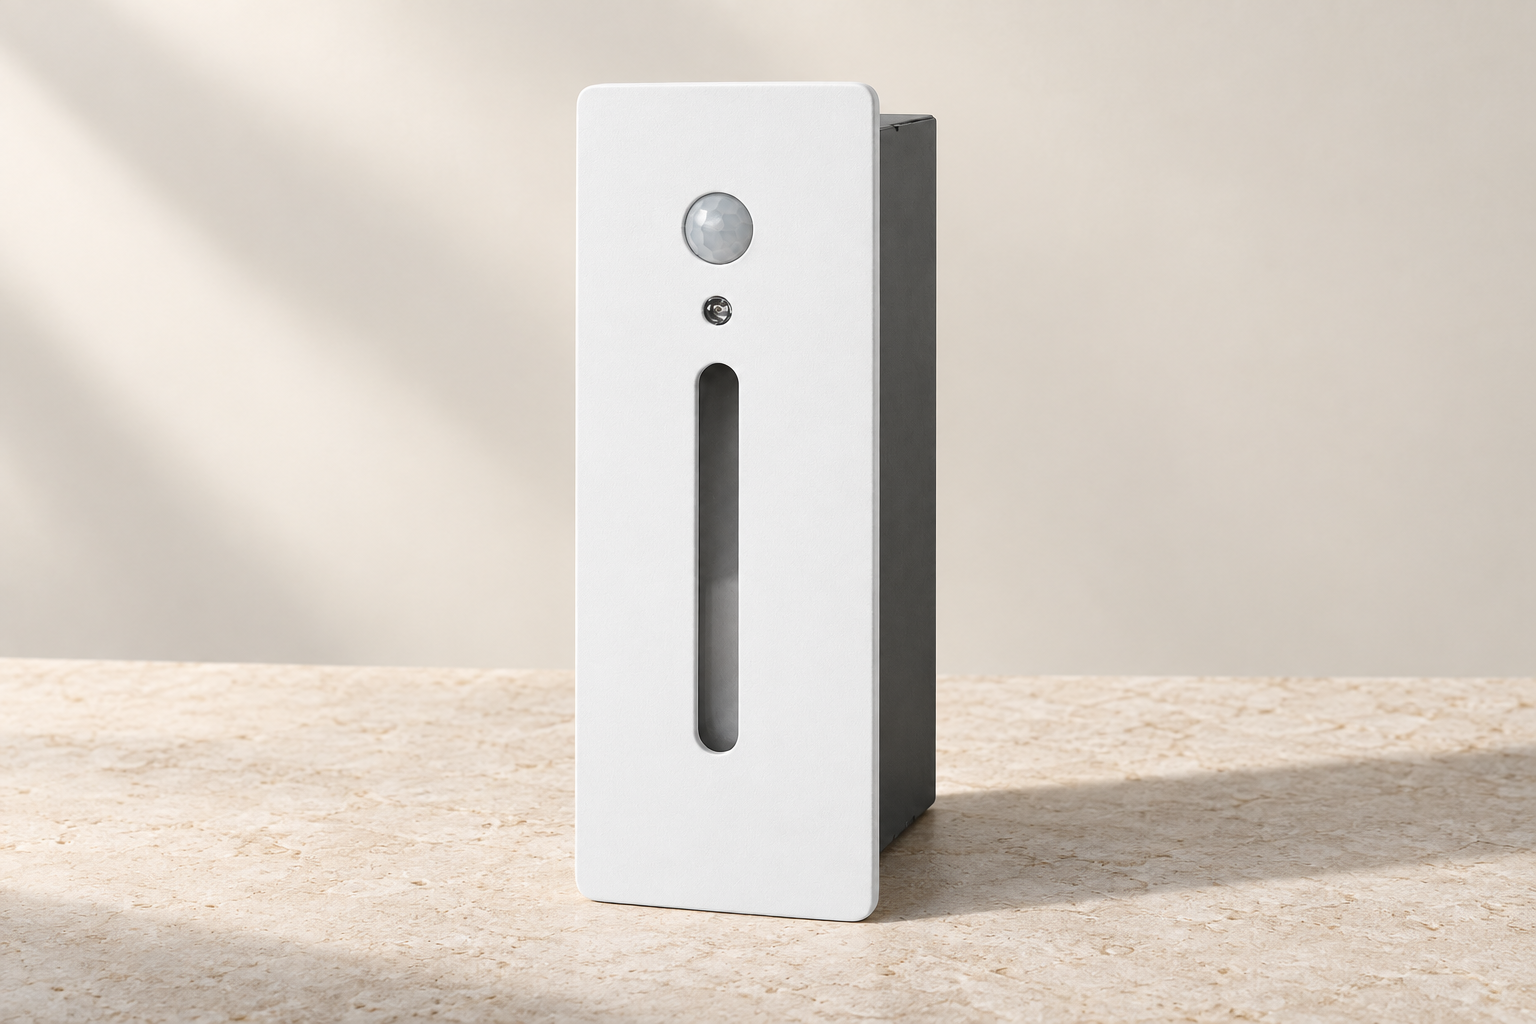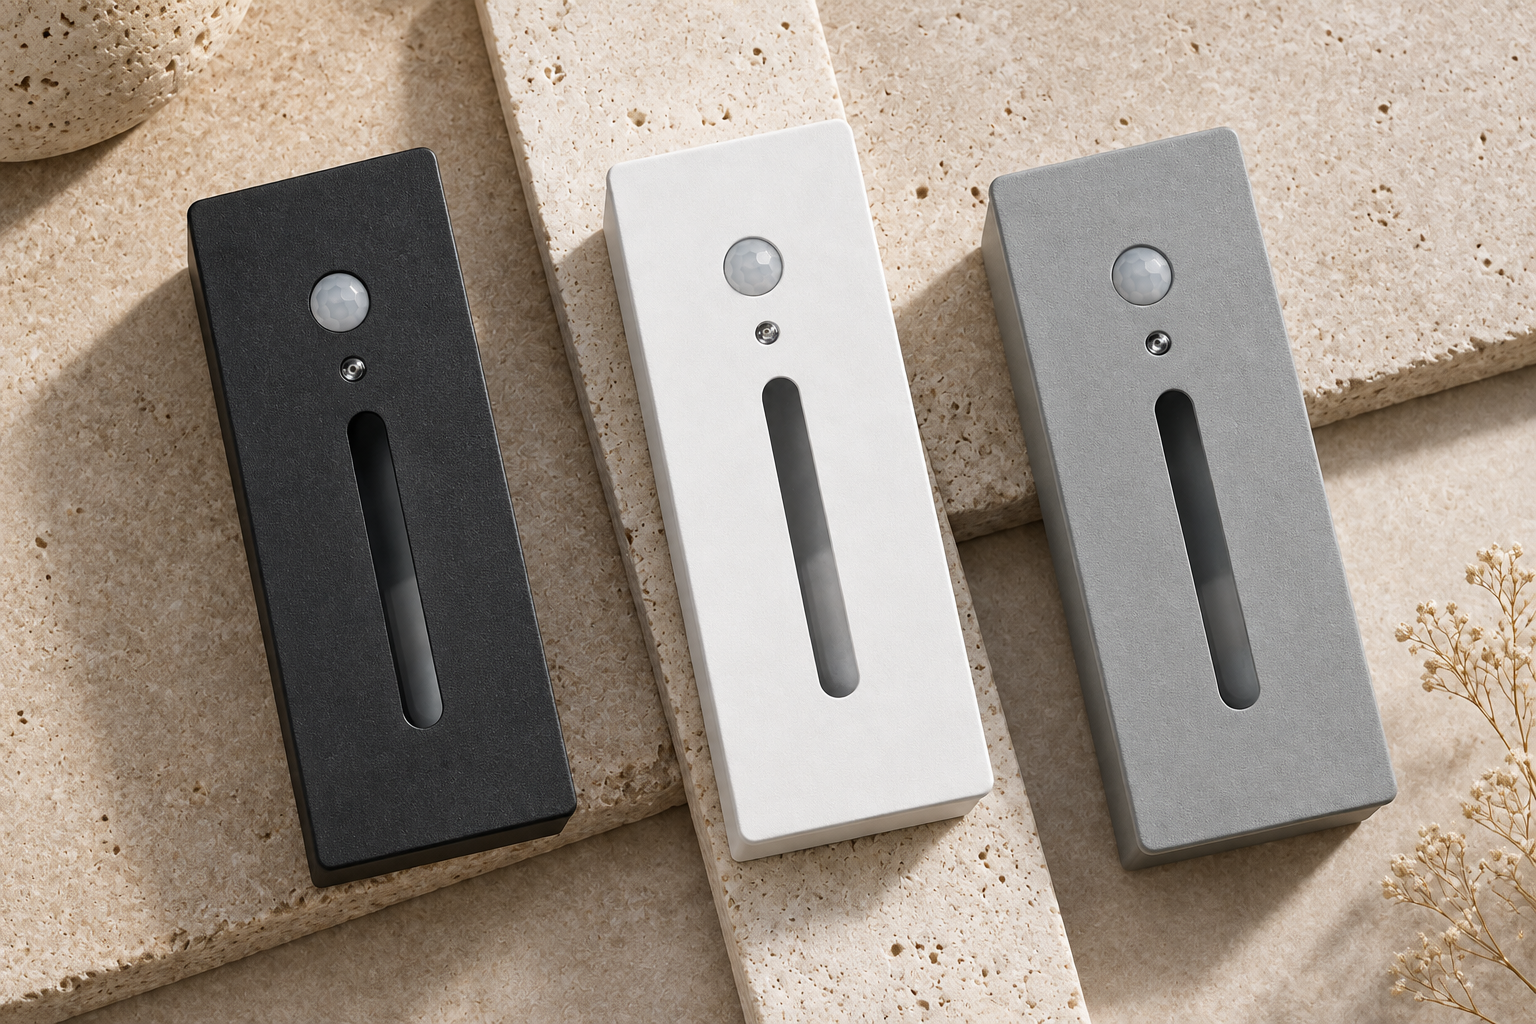

A clean installation begins before the opening is cut. The light, wall build-up, cable route and finished floor need to share the same reference drawing so the visible detail lands where it was intended.
Start with the section
Mark the finished floor or tread, mounting height and final wall face. Include the cladding or plaster thickness, available cavity depth and fixing arrangement. Confirm the cut-out and back-box requirements from the current drawing for the exact model.
Face dimensions and cut-out dimensions are different measurements. Check both, especially when replacing an existing fitting or coordinating a recess in stone or joinery.
Confirm the site conditions
Record whether the project is a new build or a retrofit. Identify the cable route, connection access and any separate driver location with the electrical installer. Use the manufacturer’s instructions to establish clearances and installation requirements.
A practical coordination sequence is:
- Agree the model and obtain the current technical drawing.
- Check the opening, depth and finished surface against the site.
- Confirm supply and controls with the responsible installer.
- Review a complete sample assembly before repeating the detail.
- Retain access and record the final installed variant.
Approve before repeating
Inspect the first installation for alignment, surface fit and the light pattern. Look from the approach and from above where the route includes stairs. Resolve any difference from the approved detail before the remaining fittings are installed.
Keep product instructions with the handover pack, and have electrical installation performed by appropriately qualified personnel. For the visual decisions that precede this sequence, read designing light into stairways.