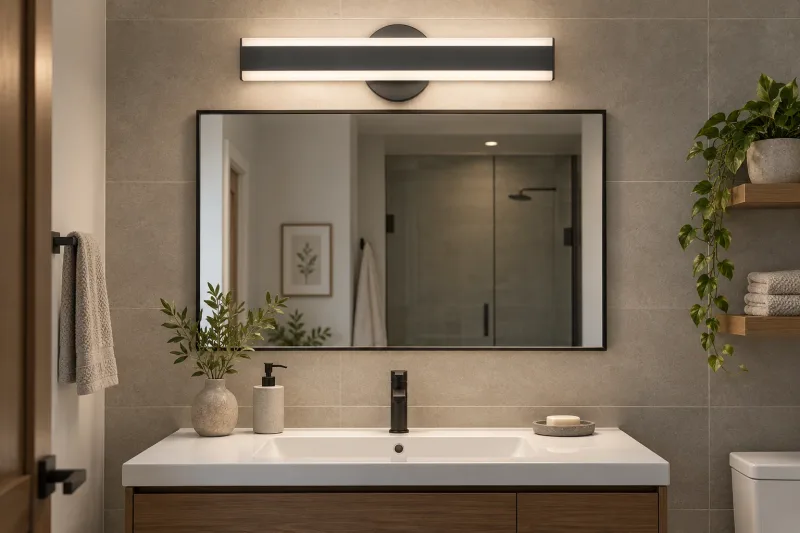
The most useful vanity light position is the one that gives people a comfortable view of their face. A beautifully centered ceiling fitting may leave eye sockets in shadow; a long decorative wall light may illuminate the basin better than the reflection. Start with the user and the mirror, then coordinate the wall composition.
This guide is for purchasers and designers comparing bathroom vanity lighting. It describes a planning and sample-review process. Final locations depend on the selected fixture, room geometry and technical requirements confirmed by the project team.
Begin with the face, not the ceiling grid
Identify the normal standing position in front of each basin. Mark an approximate range of face heights on a wall elevation and consider a seated user if the design brief includes one. This makes it possible to review light for actual use instead of organizing every fitting around a ceiling pattern.
ERCO’s bathroom planning guidance describes mirror light as a distinct function alongside ambient and orientation light. Our recommendation is to allocate a clear responsibility to each source: face lighting, room lighting or an evening scene. That reduces the chance that one decorative fixture must perform every task.
Compare three realistic placement approaches
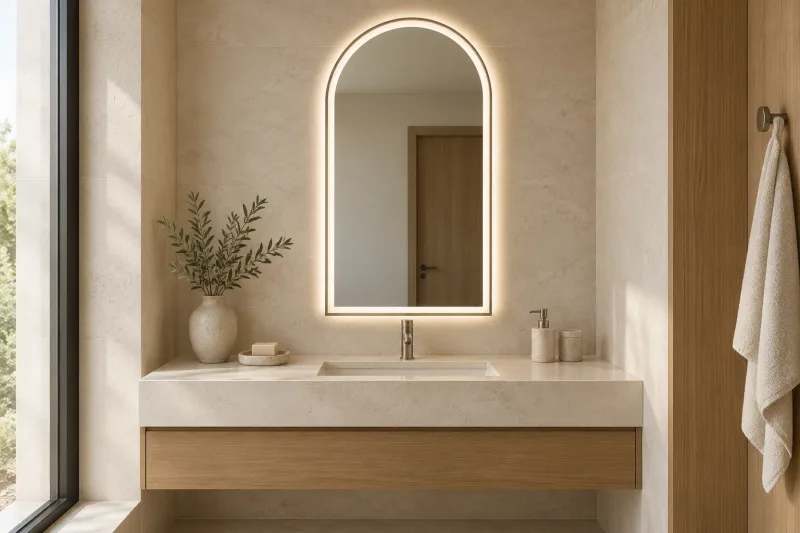
Side-mounted wall lights can be useful when the wall provides room beside the mirror. A light above the mirror can suit narrow elevations, while an illuminated mirror integrates the light with the glass. None wins solely because of its location; the luminous surface and distribution still need review.
Use a wall elevation to confirm that a side light does not collide with a cabinet door or wall return. For an above-mirror fitting, check whether the light is directed toward the user and whether the source is reflected as an uncomfortable bright patch. For a mirror with integrated light, inspect the border from different distances.
| Approach | Useful application | Main compromise to review |
|---|---|---|
| Lights on both sides | Mirror with free wall space beside it | Light height, luminous surface and lateral glare |
| Linear light above | Tight side clearances or long vanity composition | Shadows below facial features and source reflection |
| Illuminated mirror | Coordinated glass and light assembly | Whether the light is task light or mainly a halo |
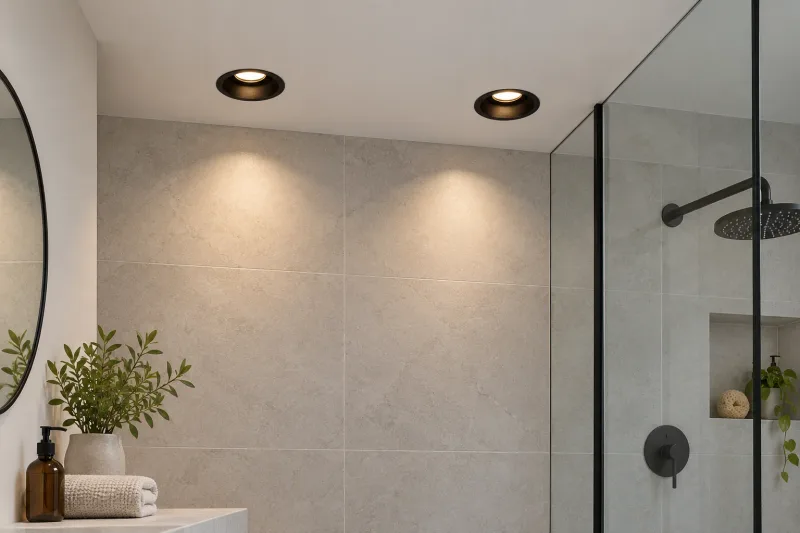
| Ceiling light plus vanity light | Separate ambient and grooming functions | Balance between overhead brightness and face light |
Coordinate the light with mirror dimensions
Work from the outer mirror dimension and the usable reflective area. A framed mirror introduces another width; a cabinet mirror adds door movement and projection. Record all three where applicable. Check whether the visual center of a decorative light is also its mounting center before setting out a drawing.
For a double vanity, test whether each person has a useful lit zone. A single linear fixture may unify the wall, but shared appearance does not prove shared coverage. Ask the supplier for the intended distribution and review both basin positions, including the space between them where overlapping reflections may be conspicuous.
Review reflections on the chosen finishes
Bring actual finish samples to the lighting review. Glossy tile, polished stone, glass shelving and shiny taps can reveal reflections that a matte sample wall hides. Look toward the mirror from the entry, from each basin and from a lower viewing position. The goal is to notice the useful reflection before the luminous fixture.
Photographs are good records when camera settings remain consistent, but they are not the full evaluation. Ask the approving people to view the sample directly. Record a reflection issue in a marked photograph and describe whether it comes from the source, the mirror or the surrounding finish; each points to a different design adjustment.
Choose light color and controls together
Review the vanity light beside the room’s other light sources. If the ceiling looks cool and the vanity looks noticeably warm, decide whether the contrast is intentional. Ask for the stated color appearance, color-rendering information and consistency approach for the specific versions being quoted.
When dimming is requested, identify the driver and control combination. Lutron’s LED compatibility guidance uses specific dimmer references, reinforcing why “dimmable” is an incomplete purchasing instruction. Approve the useful low setting and the restart behavior in the complete sample arrangement.
Use a worked wall-elevation example
Assume a hypothetical compact guest bathroom with a 900 mm-wide vanity, a framed mirror and limited space beside a tall cabinet. These dimensions are example inputs, not placement rules. The design team compares one linear above-mirror fitting with two slimmer side lights, using the same wall finish and user viewing distance.
The linear option fits the elevation more easily. The side-light option gives the preferred facial appearance but needs a narrower mirror to clear the cabinet. The decision therefore becomes an architectural tradeoff: preserve the mirror width or change the wall composition for the preferred lighting. Keep both drawings until the sample review resolves that choice.
Resolve technical fit before approving appearance
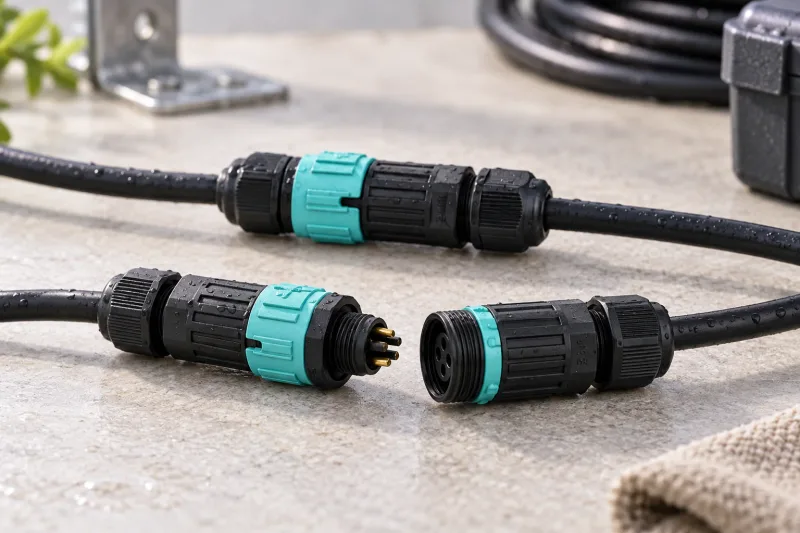
Send the mounting elevation, bathroom location, wall construction and intended exposure to the supplier and responsible project professional. Request drawings for the exact fitting, including cable-entry and maintenance requirements. The IEC IP-code publication classifies enclosure protection; project suitability also requires reviewing the complete installation context.
For a glass-clamp product, verify the actual glass details and retention arrangement with the supplier. For a wall product, coordinate the backplate and access needs. Compare the integrated wall-light family and glass-clamp mirror light as distinct mounting approaches, not interchangeable visual styles.
Approve a sample that represents the room
Use the following approval checklist before releasing quantities:
- Confirm the mirror, cabinet doors and fittings match the latest wall elevation.
- View each user’s face position and inspect shadows and reflected glare.
- Compare actual tile, glass and vanity finishes under the proposed light.
- Test normal switching, dimming where specified and setting memory where required.
- Obtain the exact model drawing and relevant location documentation.
- Record the approved luminous surface, finish and replacement-part approach.
For a repeated bathroom type, keep the sample photograph, drawing revision and model reference together. When a different mirror width or decorative finish is introduced, review whether it changes the approval basis. Continue the coordinated plan with the LED mirror buying guide and bathroom downlight guide.
Frequently asked questions
Should vanity lights sit above or beside the mirror?
Either can work. Compare face illumination, available wall space and reflections using the selected fixture, rather than choosing by location alone.
Is there one correct vanity-light mounting height?
No single height suits every mirror, light distribution and user. Coordinate the fixture with the face-height range and verify the proposed elevation in a sample.
Can ceiling downlights provide all the mirror lighting?
They may leave unwanted facial shadows. Evaluate their contribution together with a source designed for the mirror position.