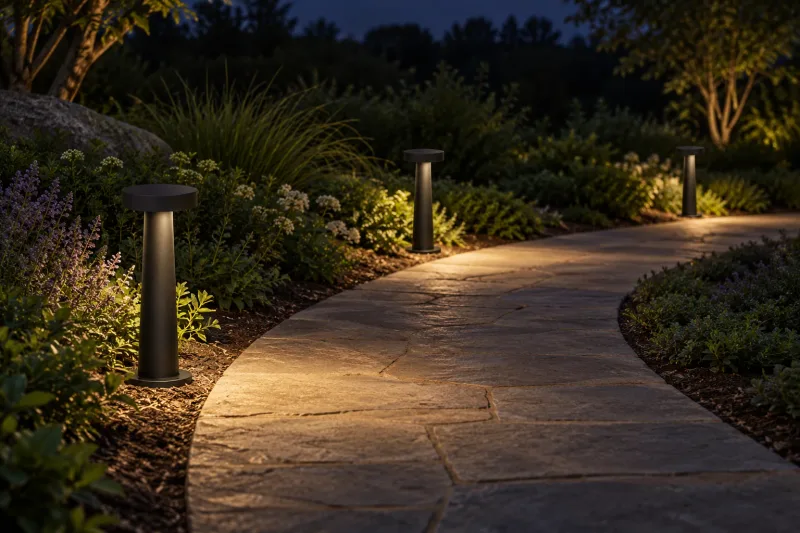
The useful question for a garden walkway is not simply how many meters to leave between lights. It is how each selected fixture distributes light across the route, how the route changes, and what people see while walking. Identical spacing can produce very different results with different optics or mounting heights.
This guide helps landscape designers and buyers assess garden and path bollard lights. Use it to prepare a layout and sample review that supports the actual path. Treat early positions as a planning proposal until the product data and site conditions have been reviewed.
Map the route and its decision points
Start with the walkway width, length and surface. Mark bends, entrances, steps, intersections and changes in level. Add nearby seating, windows and boundaries. These locations deserve explicit consideration before repeating fixtures at equal intervals.
Describe the main use: private garden movement, guest arrival or another defined route. Have the responsible project team establish any applicable lighting requirements. A decorative garden path and a required circulation route can carry different obligations; the product choice and sample should respond to the actual brief.
Choose distribution before spacing
Ask whether the fixture directs light symmetrically around itself, mainly forward, or along the path. The visual form does not answer that question. Obtain the distribution drawing and photometric file for the exact head and output package.
BEGA’s wide, flat-beam resource compares distributions suited to different path geometries. Its examples demonstrate that spacing is related to the selected optical system. They do not establish recommended distances for KEEPSUN products or every bollard of a similar height.
Compare one-sided, staggered and paired layouts
One-sided layouts can keep hardware away from one planting edge, while staggered fixtures can respond to bends or obstacles. Paired positions can create a deliberate architectural rhythm. Each approach requires checking light across the usable width and along the direction of travel.
Do not choose an arrangement solely because a plan looks balanced. Compare the resulting surface light and visible source brightness. A one-sided forward distribution may work differently from a symmetric fixture placed in the same location. Record why each candidate is proposed so the calculation and sample answer a concrete question.
| Route condition | Layout direction to evaluate | Critical check |
|---|---|---|
| Straight, narrow path | Distribution elongated along the route | Continuity between fixtures and spill into planting |
| Wider walkway | Forward or broader surface coverage | Visibility across the full useful width |
| Curving route | Positions responding to bends | Aiming direction and gaps on the inside edge |
| Steps or level changes | Dedicated consideration of the change | Tread and landing visibility with the selected assembly |
| Path near windows | Shielded sources and controlled operation | Views from indoors and neighboring property |
Review the route from a person’s eye level
View the sample from both travel directions, at bends and from adjacent seating. A bollard can throw useful light down while its luminous opening remains conspicuous from the path. Ask for shielding or optical alternatives where the source dominates the scene.
BEGA’s bollard distribution page describes shielded asymmetric and elongated distributions. Use this as a reference for what to ask about, while verifying the supplied model independently. A “low-glare” description deserves a review under the intended mounting and output conditions.
Keep light within the intended landscape task
Review where the light terminates. Nearby planting, habitat areas and water can be affected by spill that is irrelevant to the walking task. The DarkSky and IES principles encourage useful, targeted, restrained and controlled outdoor lighting, with warmer-color light where possible.
Apply that guidance through site-specific decisions: define operating times, limit unnecessary spill and select the light appearance with the landscape team. A warm-looking source is not evidence that every ecological concern is resolved. Sensitive sites may need additional professional ecological input before a lighting proposal is approved.
Use real ground surfaces in the review
Pale stone, dark gravel and damp paving can change the appearance of the same fixture. Bring representative surfaces to the sample or evaluate an appropriate site area. Record whether the route remains legible when the surrounding garden is dark.
Coordinate vegetation and maintenance too. Ask whether mature plants will obscure the distribution or interfere with access. A planting plan at installation may differ from the landscape after growth. Keep a practical clearance and maintenance review with the lighting layout, without using it as an instruction to alter the ecological brief.
Work through a path example
Assume a hypothetical 18 m garden path, 1.5 m wide, with one bend and a landing near the entrance. These dimensions are example inputs, not a spacing recommendation. Compare a forward-distribution bollard on one side against a smaller set of candidate staggered positions using actual photometry.
Evaluate continuity on the path, glare from both directions and illumination at the bend and landing. If the wider spacing leaves an unacceptable transition, change the optic, position or quantity based on the result. Avoid adding lights everywhere merely to preserve an early equal-spacing drawing.
Resolve mounting and exposure before release
Send the ground detail, drainage context and intended fixture location to the supplier and project professional. Confirm the mounting system, enclosure documentation, finish suitability and service access for the exact model. Ask what accessories are included and which belong on separate order lines.
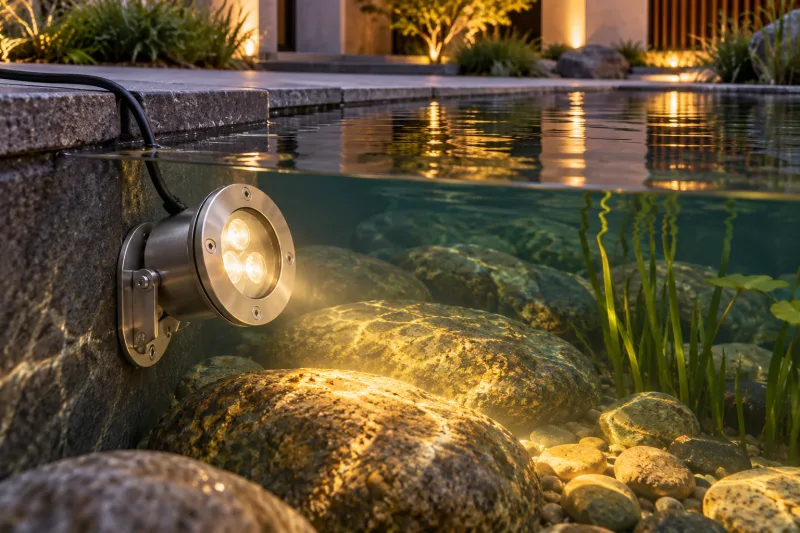
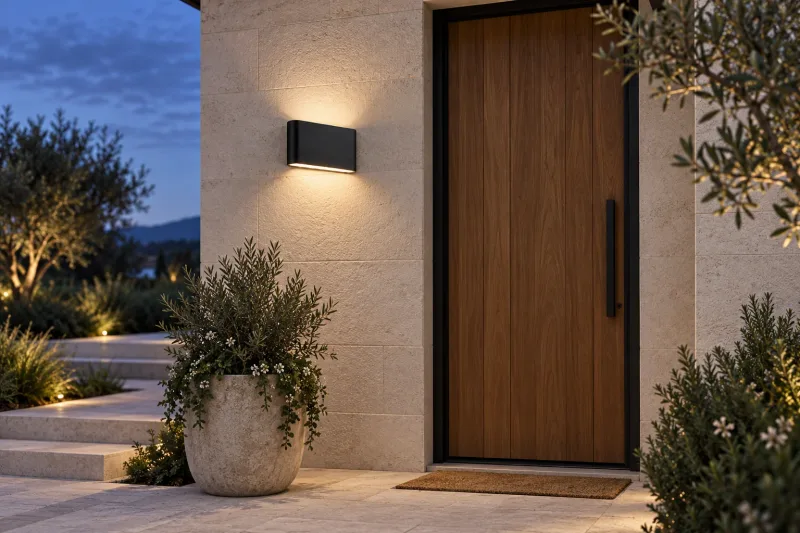
Compare the offset-head garden post light and the path-light category as formats with potentially different distributions. Do not infer equal spacing from similar overall heights. Where the route reaches an exterior wall, coordinate the outdoor wall-light guide; where it reaches a water feature, use the pond-lighting guide.
Approve a documented nighttime sample
Before ordering repeated quantities, confirm:
- Route dimensions, changes in level and boundary conditions match the latest plan.
- The photometric file matches the quoted optic, output and height.
- Both travel directions, seating and nearby windows have been reviewed.
- Actual ground finishes and planting conditions inform the sample.
- Controls, operating times and reduced scenes match the site’s use.
- Mounting, exposure, service access and included accessories are resolved.
- Positions and quantities have an approval reference with stated assumptions.
Frequently asked questions
How far apart should garden path lights be?
Determine it from the selected fixture distribution, mounting height, route geometry and required result. Manufacturer examples for other optics are not universal distances.
Should lights sit on both sides of a path?
Only if the chosen distribution and site brief justify that layout. Compare one-sided, staggered and paired arrangements using actual coverage and viewpoints.
Will more path lights always improve visibility?
No. Additional bright sources can introduce glare and distracting contrast. Review light direction, continuity and output before increasing quantity.