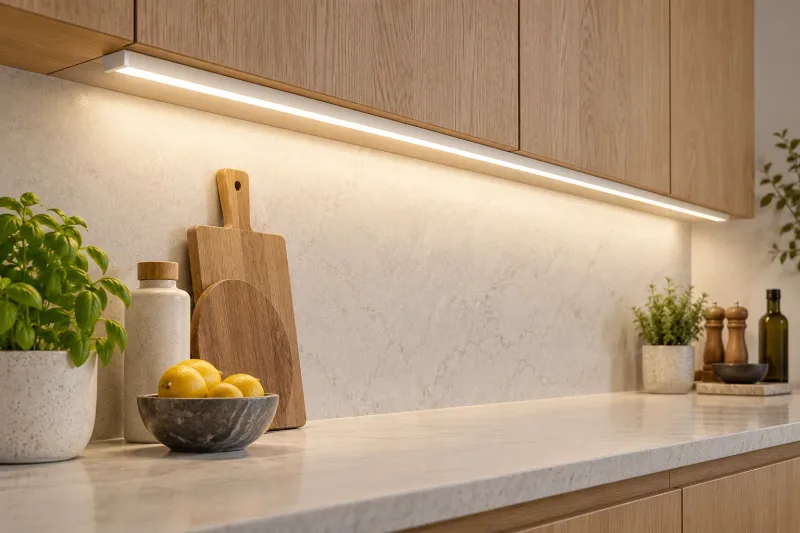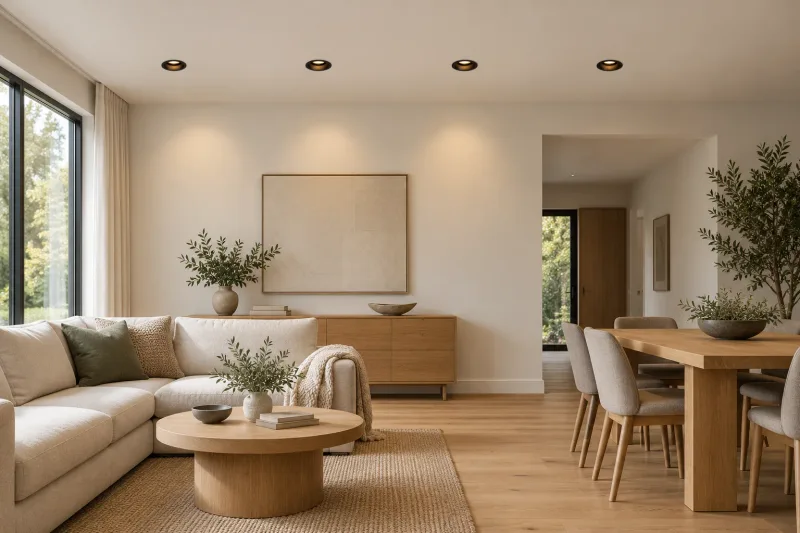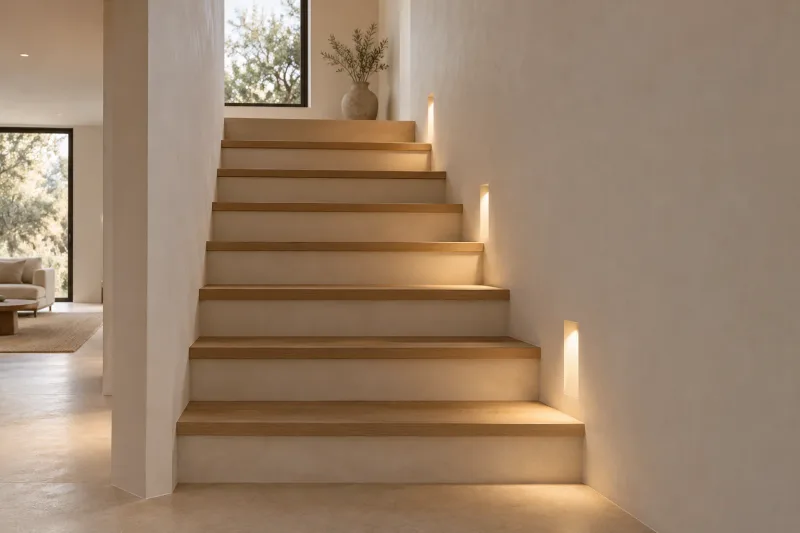
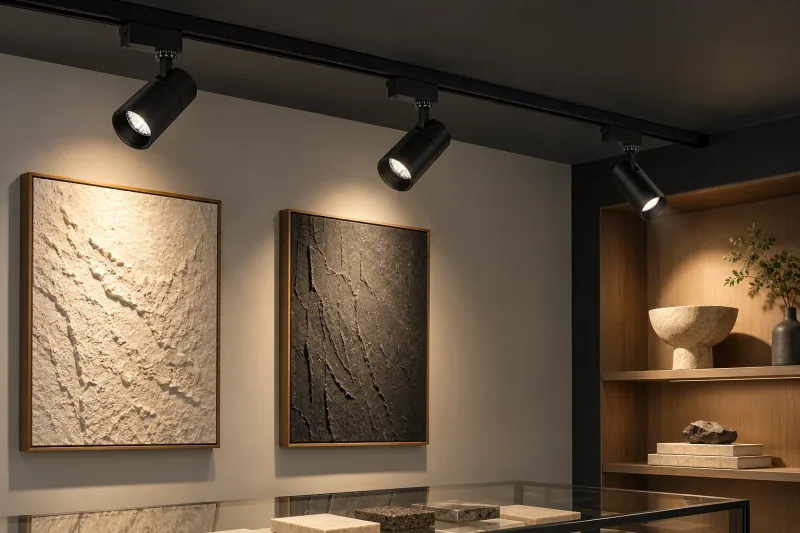
A track system makes it easy to move lights. It does not guarantee that the selected beam suits what is beneath it. A narrow spotlight can emphasize one product beautifully while leaving the surrounding display fragmented; a broad beam can cover a shelving bay but spill into an aisle or a shopper’s eyes.
For retail buyers, interior designers and distributors, beam selection begins with the display size and the distance from light to target. Review the track spotlight family as a set of possible configurations, then ask for the exact optical and track-system details behind the proposed version.
Define the target before choosing degrees
Mark the object or surface that should receive light. Include its width, height, location and expected changes. A clothing rack, framed artwork and freestanding object require different coverage even when they sit under the same rail.
Write the visual priority too: a clear accent, a broader merchandising area or an evenly lit wall. ERCO’s retail lighting examples illustrate several approaches to directing attention in shops. Use references to explain the intended hierarchy, while keeping the final specification tied to the actual project geometry.
Treat beam names as categories, not universal definitions
Terms such as spot, flood and wide flood help describe a product range, but their exact angles vary by manufacturer and optic. Ask for the numerical angle, intensity distribution and photometric file. Identify whether an oval beam has different horizontal and vertical coverage.
ERCO’s Pollux product information lists distinct distributions for different uses. That supports comparing optical options within a documented range, rather than assuming that all track heads of the same size produce equivalent light. Request the data for the quoted lens and output package.
Use a simple footprint estimate carefully
For a circular beam perpendicular to its target, geometric diameter is approximately twice the target distance multiplied by the tangent of half the angle. Assume a 2.5 m distance: a 24-degree beam has a geometric diameter of approximately 1.06 m; a 40-degree beam gives approximately 1.82 m.
These are hypothetical footprints, not recommended fixture angles or guaranteed useful coverage. Real intensity changes across the beam, and tilting creates an elongated footprint. Use the calculation to compare candidate directions, then have the actual photometry and aiming reviewed at the intended display position.
| Optical direction | Useful task to compare | Main review point |
|---|---|---|
| Narrow circular beam | A small object or longer light-to-target distance | Hotspot, spill and aiming sensitivity |
| Medium circular beam | Individual displays with some surrounding context | Target coverage and overlap |
| Broad circular beam | Larger merchandising zones | Spill into aisles and reduced accent emphasis |
| Oval distribution | Long shelving or linear displays | Orientation and both beam dimensions |
| Wallwashing distribution | A continuous vertical background | Product-specific setback and spacing |
Distinguish wallwashing from a row of accents
If the intention is a uniform wall, compare a dedicated wallwashing distribution with ordinary circular beams. Repeated spotlights can create visible bright and dark patches; that may be a deliberate effect, but it differs from a continuous background.
ERCO’s luminaire arrangement resource distinguishes arrangement strategies for downlights, spotlights and wallwashers. Ask for product-specific planning guidance when evaluating a wallwash option. Do not transfer a spacing rule for one distribution to another because the track head looks similar.
Inspect glare from the customer’s route
Plot the entrance view, aisle movement and the position of customers examining merchandise. A light aimed toward the display can still be visible along one approach. Check direct brightness, reflections in packaging and glass, and shadows created by people standing between the light and object.
Review shielding accessories only when they belong to the selected product and are included in the quote. A deeper lens or accessory can change both appearance and output. Have the sample reflect the complete quoted assembly, and record any aiming limitation that affects the intended target.
Compare light color and beam intensity together
Keep the merchandise or interior finish in the sample review. White-tone appearance and color rendition can influence how products are perceived, while a very strong central accent can alter the apparent balance between neighboring displays. Ask for both optical and light-quality data for the quoted version.
Avoid comparing candidates using wattage alone. Record delivered output, distribution and the desired result on the target. If dimming is needed to balance accents, specify the driver/control method and test the agreed arrangement at its useful low setting. Color and beam choices should retain distinct model references in the schedule.
Confirm the rail and adapter as an assembly
Track compatibility is a physical and electrical system question. Send the rail manufacturer’s exact reference, intended supply and control brief, and request written confirmation for the proposed adapter. A conventional rail, magnetic rail and another manufacturer’s superficially similar rail are not interchangeable by appearance.
Compare conventional track spotlights, linear track lights and magnetic-rail fixtures through the relevant system drawings. The responsible professional should establish the supply and installation requirements before the purchasing specification is released.
Approve one representative display before scaling
Assume a hypothetical shop with a 1.2 m-wide display bay and a rail above the aisle edge. The design team compares one medium beam against two smaller accents using actual sample products, the intended mounting distance and shopper viewpoints. These are example inputs; they do not establish a universal retail layout.
The single beam may provide simpler broad coverage, while two accents allow separate emphasis on changing objects. Compare both with the background scene and request the applicable calculation. Approve the arrangement that supports the merchandising brief, then identify which bays share sufficiently similar geometry to use it.
Before ordering, retain:
- Target dimensions, rail positions and intended mounting distances.
- Exact optical references and the corresponding photometric files.
- Sample merchandise, finish and color-appearance approvals.
- Aiming, direct-glare and reflected-glare observations from customer routes.
- Rail, adapter and driver/control compatibility confirmation.
- Quantity by optic and instructions for keeping replacement references identifiable.
Use the indoor spotlight category to compare formats. Coordinate broader coverage through the downlight spacing guide, and review complementary display lines in the COB and SMD strip guide.
Frequently asked questions
Which beam angle is best for a shop?
There is no single best angle. Select it from target size, distance, intended emphasis and photometry, then review customer viewpoints.
Can I change lenses after buying a track light?
Only if the exact product supports that option. Ask which optics are available, whether they can be changed and how each version is documented.
Will a wide beam make a wall uniformly bright?
Not automatically. Uniform wall lighting depends on the distribution, setback, spacing and geometry. Compare a dedicated wallwashing option when that is the goal.