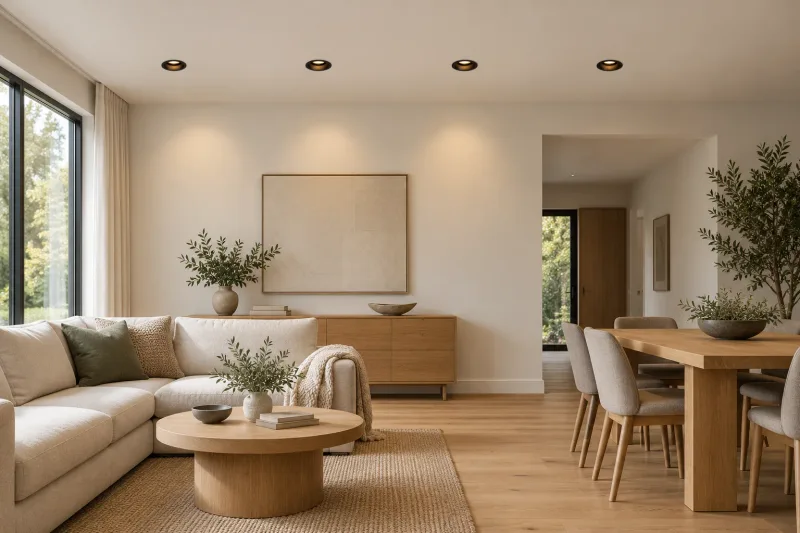
Search for downlight spacing and you will find neat formulas. The difficulty is that two rooms with the same ceiling height can need very different lighting: one contains a dining table and artwork, another contains dark cabinetry and a preparation surface. A useful layout connects the actual luminaire to the actual task.
This guide gives purchasers and designers a method for reviewing indoor recessed fixtures. Begin with the room plan, define the surfaces to light, then compare distributions and positions. Treat early spacing as a proposal until photometric calculations and a representative sample support it.
Start with the usable surface
Identify whether the lighting task is on the floor, a worktop, a desk or a vertical display. Record the distance between the luminaire and that surface. Ceiling height alone leaves out this difference, especially when task surfaces sit well above the floor.
Add furniture, doors, tall cabinets and structural limitations to the plan. A perfectly regular ceiling grid can still put the light behind the person doing the work. Review movement and viewing directions too: the entry view, a seated view and the path between functional areas each reveal different aspects of the arrangement.
Use spacing rules within their stated scope
ERCO’s luminaire arrangement guidance offers early planning rules and distinguishes downlights from spotlights and wallwashers. Its Compar linear arrangement sheet gives spacing guidance for particular distributions relative to the usable surface. These are product-context examples, not a promise that the same factor fits any downlight.
Ask your supplier whether a spacing recommendation applies to the selected optic, output and mounting distance. When it does not, request the photometric file and a proposed calculation. A rule of thumb can start the drawing; it should not silently become the final quantity.
Understand what beam angle can tell you
For a simplified circular cone aimed perpendicular to a plane, beam diameter can be estimated as twice the distance to the plane multiplied by the tangent of half the beam angle. Assume a 2 m distance and a 40-degree angle: the geometric diameter is approximately 1.46 m. At 60 degrees it is approximately 2.31 m.
These example numbers describe geometry, not uniform useful light or an approved spacing. Real distributions have intensity profiles and light beyond the nominal beam. Overlap alone does not establish the achieved illumination, and an angled beam produces a different footprint. Use the estimate to ask better questions, then verify the selected product data.
Compare layouts by room function
| Room or zone | Begin the layout around | Check before setting a ceiling grid |
|---|---|---|
| Living room | Seating, circulation and selected features | Glare from seated viewpoints and scene balance |
| Kitchen | Preparation surfaces and cabinetry | Shadows from people and contribution of cabinet lights |
| Bedroom | Movement, wardrobes and optional accents | Bright sources seen while reclining |
| Bathroom | General coverage plus separate mirror lighting | Reflections, exposure and location requirements |
| Corridor | Route, doors and changes of direction | Continuity and bright patches near wall finishes |
Use this table to identify the first design question in each room. It does not imply that every room requires recessed lighting everywhere. A pendant, wall light or task source may perform a particular function more directly and reduce the burden placed on ceiling downlights.
Give kitchen tasks their own review
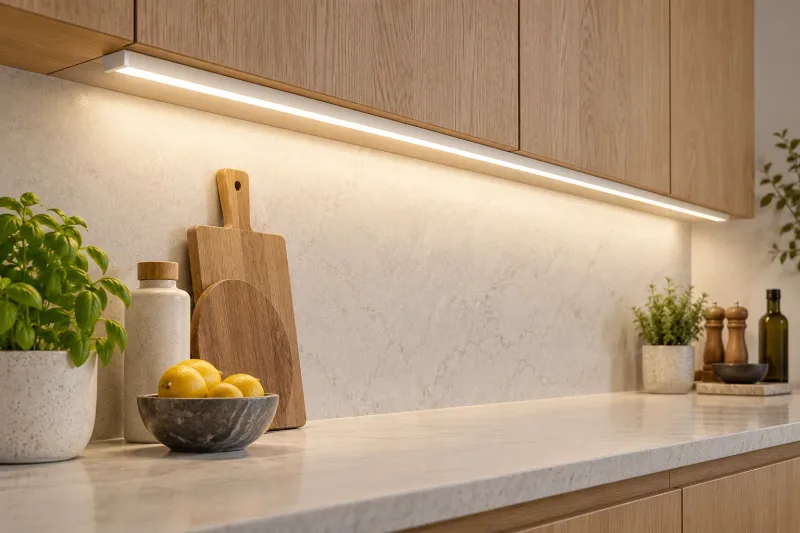
Plot the person at the worktop as well as the worktop itself. A source behind that person can cast a shadow across the preparation area. Ceiling coverage and under-cabinet light can be reviewed together, with each contributing to the lighting brief.
Consider tall cabinets, extract hoods and changes in worktop depth. A layout approved for an empty shell may need revision when the joinery is final. Compare the actual cabinetry elevation and the under-cabinet lighting category before approving ceiling quantities. Our COB and SMD strip comparison helps coordinate that second layer.
Plan comfort from the occupied room
Evaluate direct views of the luminous aperture and its reflection in screens, glass or polished finishes. A fitting can appear restrained from directly below and conspicuous from a sofa across the room. Obtain relevant optical information and inspect a sample from the expected viewpoints.
ERCO’s functional-area guidance describes lighting zones according to their uses. A practical application is to assess each zone with its intended scene active. Comfortable ambient light and a brighter reading or display area can require separate control groups rather than one uniform full-output scene.
Work through a room before multiplying it
Assume a hypothetical 4 m by 5 m living room with a 2.7 m ceiling, a sofa, a dining area and one wall display. These are planning inputs. Rather than divide the ceiling into identical rectangles immediately, mark the route, table and wall feature, then compare two downlight distributions using the selected product’s file.
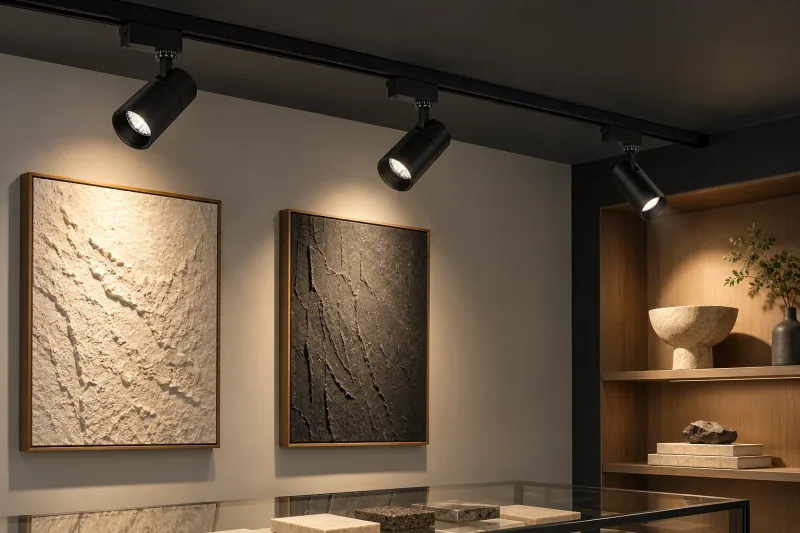
Review illumination on the intended planes, visible brightness from the sofa and the relationship with the dining pendant. If the wall display needs a different optic, identify it as a separate item. Carry the resolved layout into repeated rooms only when furniture, finishes and ceiling conditions remain comparable.
Approve photometry and mechanical fit together
The integrated downlight and replaceable-lamp recessed spotlight represent different assemblies. Confirm which approach the project needs, then review dimensions, source requirements and service arrangements for the quoted version.
Before releasing the schedule:
- Record the room plan, task planes and finish assumptions used in calculations.
- Match the photometric file to the exact optic, output and color version.
- Review occupied viewpoints and the intended control scenes.
- Coordinate cutout, cavity depth, ceiling thickness and access requirements.
- Keep the sample, drawing revision and fixture schedule under one approval reference.
- Identify separately any location or ceiling-performance requirements for professional review.
This approval package gives quantity changes a visible reason. If a supplier proposes another optic or lumen package, revisit the affected calculation rather than approving it solely because the trim looks similar. For bathroom-specific checks, continue with the bathroom downlight guide.
Frequently asked questions
Can I space downlights using ceiling height alone?
It can provide an initial estimate only when the product guidance supports it. Task-plane height, distribution, output and room geometry still need review.
Do all downlights with the same beam angle perform alike?
No. The intensity distribution, output, shielding and physical construction can differ. Compare the complete photometric and dimensional information.
Should downlights be evenly spaced in every room?
A regular grid is one option. Furniture, circulation and feature lighting can justify a different arrangement that remains coherent with the architecture.