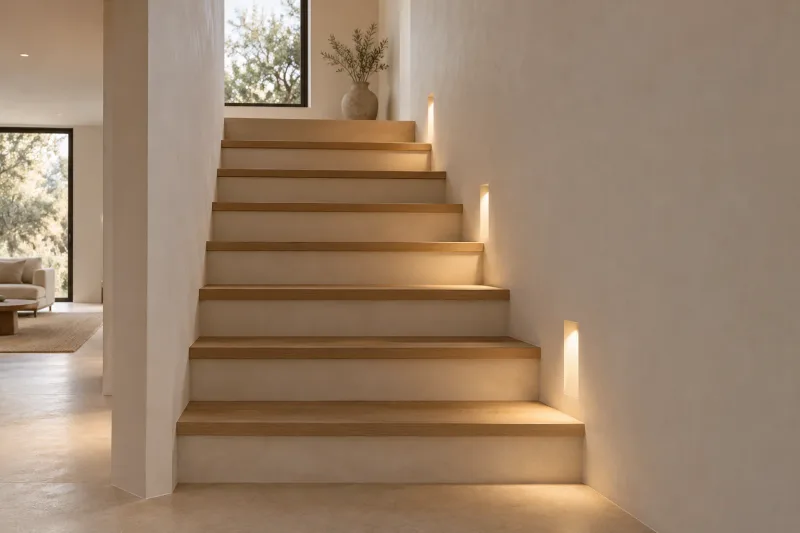
Stair lighting is often judged from a photograph taken at the bottom of the flight. People use a stair in both directions, with changing eye height and a view of the next tread. A layout that reads as a dramatic line in a picture may reveal bright sources or obscure the tread pattern when someone descends.
For designers and procurement teams comparing indoor step lights, the key is to approve the light effect and the physical detail together. These seven mistakes show what to review before repeated positions are committed to the wall or stair assembly.
Mistake 1: choosing the fitting before the lighting task
Define what the light should make visible: tread edges, the walking surface, a landing or the relationship between levels. Identify the stair material and the expected ambient light. Decorative emphasis and route visibility can be different functions, even when one source contributes to both.
ERCO’s functional-area guidance treats circulation as a zone with its own lighting requirements. Apply that thinking by writing the stair function before selecting a visual style. Ask the qualified project team to establish any applicable route and emergency-lighting requirements separately.
Mistake 2: checking only the upward view
Review the bottom approach, the top landing and intermediate viewpoints. Include the view of a shorter user where relevant to the brief. A wall fitting aimed away from someone ascending can expose a luminous opening to someone descending. Under-nosing light also changes appearance as the observer moves.
Have the sample review follow the stair direction, with observers pausing at representative positions. Record direct glare, tread contrast and dark transitions. Do not accept one attractive photograph as the full approval. A camera can conceal a source that remains uncomfortable to a person looking directly toward it.
Mistake 3: copying spacing from another stair
Different rise, tread depth, wall offsets and landings change where the light lands. Product distribution matters too. A fitting used on every second tread in one project does not establish the correct repetition for another geometry or another optic.
Create a section with the proposed fixture positions and ask for product-specific distribution information. Use a representative mockup or calculation to compare repetition patterns. Include the landing at the same time: an evenly lit flight can still terminate in a distracting dark or bright area if the next zone is omitted.
| Lighting approach | Useful reason to compare it | Detail most likely to change the result |
|---|---|---|
| Recessed wall step light | Local light close to the walking surface | Aperture shielding and wall-to-tread relationship |
| Compact recessed marker | Restrained guidance along a route | Whether output reaches the surface or mainly marks position |
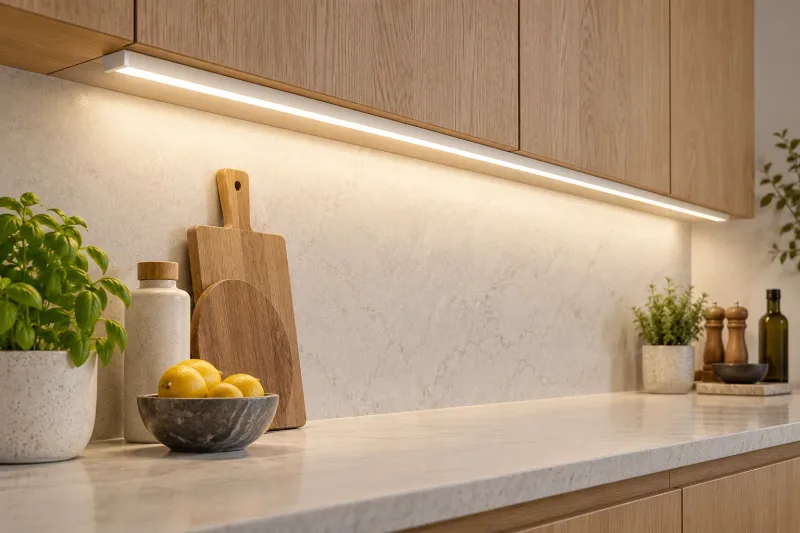
| Stair-nosing profile | Continuous light associated with tread edges | Profile integration, light direction and service access |
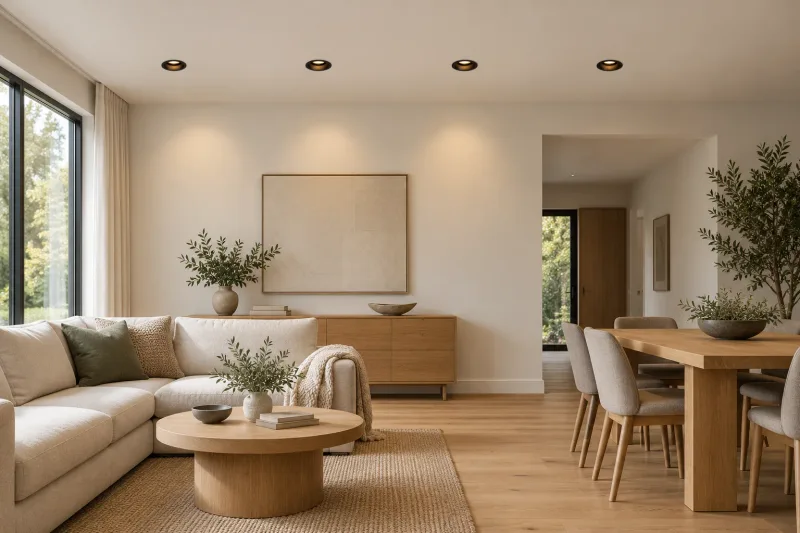
| Ceiling or wall ambient source | General visibility around the stair | Shadows, viewing angles and balance with low-level light |
Mistake 4: ignoring the finish under the beam
Sample the actual timber, stone, tile or carpet. Glossy nosings can produce bright reflections; pale walls can make a localized light patch more conspicuous. Dark surfaces may change the perceived balance between the source and the surface. A painted board that differs from the final material is a limited test.
Review tread edges and changes in level as well as the overall atmosphere. Ask whether the fixture’s illuminated pattern reinforces the stair geometry or creates a competing rhythm. If the effect is too strong, compare optical direction and distribution before assuming a different decorative finish will solve it.
Mistake 5: specifying sensors without behavior
“Sensor controlled” leaves several purchasing questions open. What triggers the light, from which approach, how long does it remain active, and what happens when someone pauses? Describe the expected experience at both landings and ask for a supplier proposal compatible with the selected system.
Where dimming is part of the arrangement, test the actual driver and control combination. Lutron’s LED compatibility criteria illustrate why low-level behavior, flicker and noise require attention. Do not assume that a dimmable label specifies a comfortable nighttime scene. Record the approved control behavior, including manual operation where the brief calls for it.
Mistake 6: treating mounting and maintenance as later work
Request the recess dimensions, wall or stair build-up requirements and the intended retention method. Confirm how a damaged part or light source can be accessed after finishes are complete. A concealed line is only a practical choice when its assembly and future access are coordinated.
Compare the recessed wall step light with the LED stair-nosing profile using the actual section. They occupy different places in the construction and should have separate mounting reviews. Leave electrical installation details to the responsible qualified professional and manufacturer’s documentation.
Mistake 7: approving one sample for every stair type
Assume a hypothetical project with a straight timber stair and a shorter stone stair with a return landing. The same visual family is proposed for both. Approving the timber sample establishes a finish and light preference, but it does not automatically validate the stone stair’s reflection, geometry or landing transition.
Group approvals by conditions that affect the result: material, stair geometry, mounting detail and control arrangement. A representative review can cover repeated comparable stairs; a materially different condition deserves its own review. This prevents repeated quantities from multiplying an unresolved problem.
Build a stair-light approval package
Before an order is released, confirm:
- The stair plan and section show each light’s function and proposed position.
- Ascending, descending and landing viewpoints have been reviewed.
- The actual tread and wall materials appear in the sample review.
- The project professional has confirmed applicable route requirements.
- Mounting depth, retention and service access match the quoted assembly.
- Trigger behavior, scene levels and restart behavior have a clear approved record.
- Model references, finish samples and repeated stair types match the quantity schedule.
Use recessed downlight spacing to coordinate any overhead layer. Where a stair connects to the landscape, apply a separate exposure and route review through the garden path-light guide, rather than transferring an indoor fixture decision outdoors.
Frequently asked questions
Does every tread need an LED light?
Not necessarily. The repetition depends on geometry, distribution and the required result. Review the complete route and landings using the chosen product.
Are stair strips better than wall step lights?
They serve different design and construction briefs. Compare glare, surface visibility, mounting detail and service access before choosing one approach.
What should a stair-light sample include?
Include representative tread and wall materials, the intended mounting relationship and the proposed controls. Review it from both travel directions.